")


Building an emergency food storage pantry isn’t just about stocking up on food. It’s about creating a practical backup plan for unexpected events. When storms roll in, supply chains get disrupted, or times get tight, having a prepping pantry can be a real lifesaver. I’ll walk you through the basics of getting started, picking the best foods, organizing your space, and keeping everything fresh over time. Whether you’re totally new to this or looking to boost your current stash, these steps can help make your emergency food storage both reliable and easy to manage.
Why Create an Emergency Food Storage Pantry?
Setting up a food storage pantry isn’t just for people who expect the worst. It’s actually about practical planning. From wild snowstorms to power outages or even just busy weeks when the store seems too far away, a survival food storage setup can help a lot. Plus, prepping your pantry means you’re less likely to scramble for last-minute groceries or go without your favorites when shelves are bare.
Having foods with a long shelf life also lets you buy in bulk, which can save money, especially when prices go up. I started my own prepper food pantry when I realized how much extra peace of mind I get knowing my family won’t be caught off guard if the unexpected happens.
Quick Start Guide: Steps to Build an Emergency Pantry
- Figure Out How Much to Store: Count how many people you’re feeding and how many days or weeks you want your supply to last. Most prepping guides suggest starting with a 72-hour emergency kit food supply. From there, gradually build up to two weeks, one month, or even longer, depending on your needs and space.
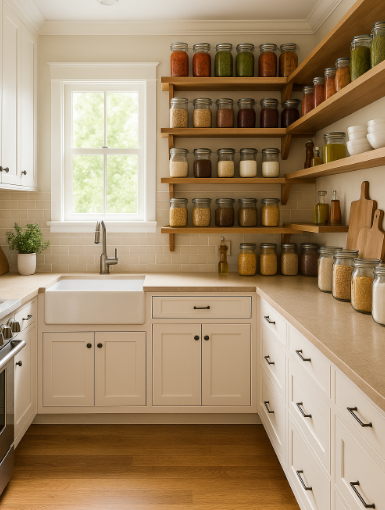
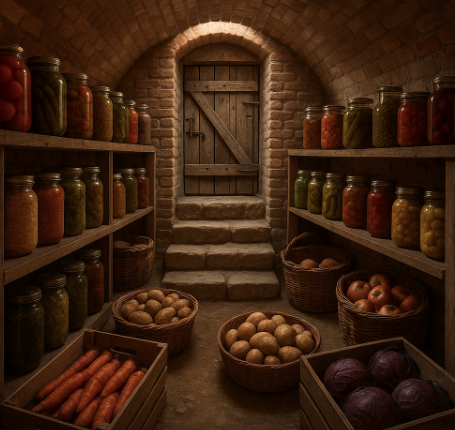
- Pick a Spot for Your Pantry: Choose a space that’s cool, dry, and dark. Think basement, back of a closet, or unused kitchen cabinet. Keeping things out of sunlight and away from major temperature swings is really important for long-term food storage. Make sure this spot is easily accessible when you need it but not in the way of daily life.
- Create a Survival Pantry Checklist: Write down the foods you want to keep on hand, plus extras like can openers and water. A simple spreadsheet or notepad works wonders for staying organized. Cover all food groups when creating your checklist, and remember to include snacks or fun treats for kids.
- Shop Smart: Look for deals on canned or shelf-stable food, and buy extra of your family’s favorites when they’re on sale. Over time, you’ll build a stash without blowing your budget. Don’t forget local farmers’ markets or bulk food stores for great deals on staples like rice, beans, and oats.
- Store Food Correctly: Use proper containers and clearly label everything with the purchase or expiration date. Mylar bags food storage, airtight buckets, and vacuumsealed jars are all pretty handy for keeping things fresh. Double-check those seals every few months.
Best Foods for Emergency Storage
Stocking up with the right foods means your prepping pantry stays tasty, and useful, when you need it most. The best foods for emergency storage last a long time, require little to no cooking, and keep you well-fed during tough spots. Here are some good options:
- Canned Food Storage: Soups, chili, meats, beans, vegetables, and fruit all work well and can often be eaten straight from the can. Just keep a manual can opener close by.
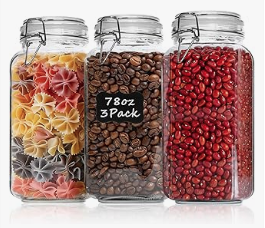
- Dry Food Storage: Rice, pasta, beans, lentils, oats, and flour have a long shelf life, especially when kept dry and sealed up. Dried fruits like raisins or apricots are another good addition.
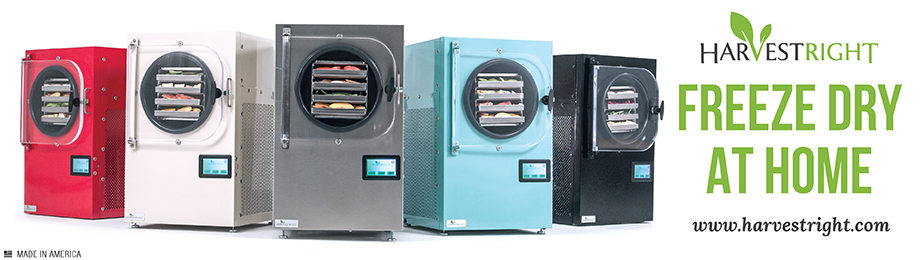
- Freeze-Dried Food Storage: Lightweight and easy to prepare, freeze-dried meals keep for years and take up little space while offering lots of flavors and nutrition.
- Nuts, Seeds, and Jerky: These give you a boost of quick energy and protein, and they don’t spoil quickly if you store them in airtight containers.
- Shelf-Stable Dairy: Powdered milk, evaporated milk, and boxed nondairy alternatives keep without refrigeration and are helpful for recipes and coffee alike.
- Comfort Foods: Don’t skip things like peanut butter, chocolate, instant coffee, or tea—those personal favorites are more valuable than you might think when times are stressful. Even a couple of treats can give everyone a morale boost.
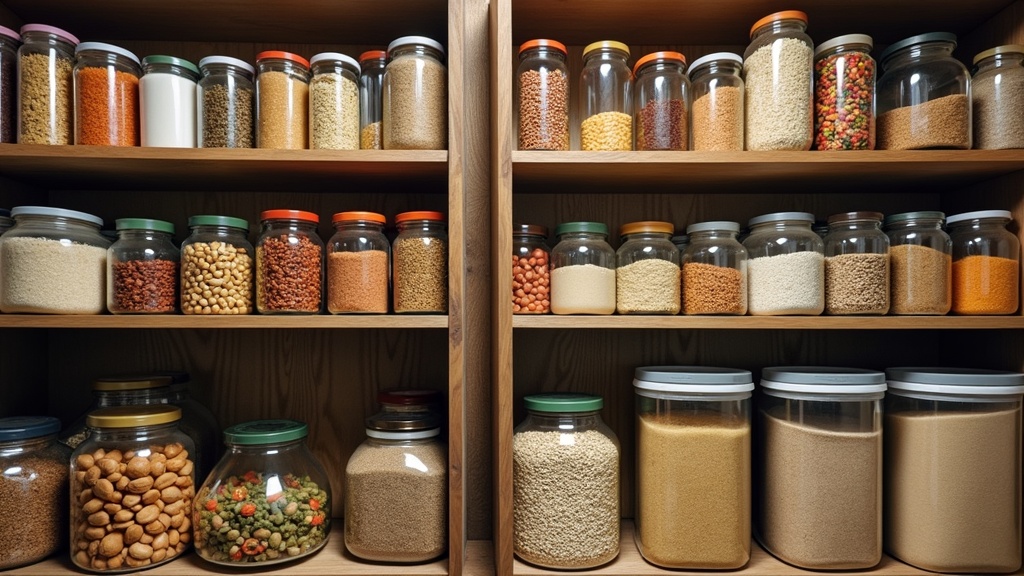
Packing and Storing for the Long Haul
How to store food long-term depends a lot on packaging and storage conditions. Here’s what’s worked for me and many others who take food storage for beginners seriously:
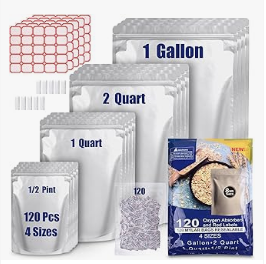
- Mylar Bags and Oxygen Absorbers: Mylar bags food storage combined with oxygen absorbers can add years or even decades to the freshness of rice, grains, powdered foods, and beans.
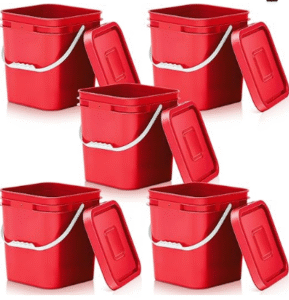
- Airtight Buckets and Bins: Food grade buckets with solid seals keep out bugs and moisture. Store dry food like wheat or oats in these. Sometimes you can add a Mylar liner inside for even more protection.
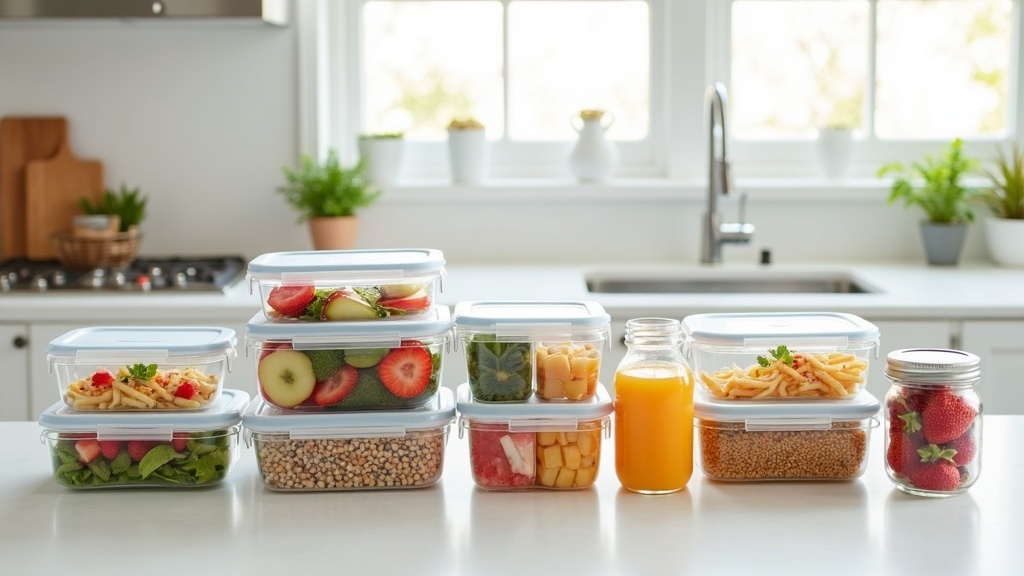
- Vacuum-Sealed Jars: Vacuum sealing is great for dried fruits, nuts, or even leftover grains. Check seals every so often to keep things fresh.
Also, always keep your food off the floor in your pantry. Use shelves or pallets to protect supplies from moisture. And remember to label everything. For example, “White rice, August 2024” is way better than having a mystery bucket you forget about. A simple labeling system helps you track your inventory at a glance.
Rotating and Organizing Your Pantry
Food storage rotation keeps your stash fresh, so you’re not stuck with expired products. The basic idea is: use older food first and put newer purchases toward the back. I check my prepping pantry every few months and donate anything we’re unlikely to use before it expires. This helps reduce waste and gives back to the community, too.
A good tip: Keep a visible survival pantry checklist taped to the inside of your pantry door. Mark things off as you use them and add what needs replacing. Clear bins, stacking shelves, and labels make it easier to spot what you have or notice what you need to restock. It keeps your system running smoothly in stressful times.
Storing Food for Special Needs
It’s easy to focus on the basics and forget about extras, but take into account everyone who’ll rely on your emergency food storage. If you’ve got babies, pets, or anyone with special dietary needs, add formula, pet food, or gluten-free items to your food storage for beginners plan. Medications, vitamins, favorite condiments, coffee, teas, or even boxed juices for kids are also smart to tuck away.
Common Challenges (and How to Beat Them)
- Keeping Pests Out: Rodents and bugs are attracted to uncovered or poorly packed foods. Use sealed containers and take a look at your pantry area every now and then for possible openings or leaks. Cleaning regularly can help keep critters away, too.
- Managing Shelf Life of Pantry Foods: Not all foods last forever, even if you’re careful. Canned food typically lasts two to five years, while properly packed dry goods can stay edible for thirty years or more. Read labels, rotate stock often, and stay realistic. Don’t store anything you wouldn’t want to eat when you actually need it.
- Lack of Space: No basement or only a small kitchen? Tuck supplies under beds, in closets, or even above cabinets. There are folks who have fit a month’s supply in plastic bins under their couch, proving that with some creativity, almost any space can work.
Handy Extras for Your Prepper Food Pantry
- Manual Can Opener: Electric ones won’t work if the power goes out, so always keep a sturdy manual version on hand.
- Water Storage: One gallon per person per day is a solid target for drinking, cooking, and basic washing. Consider water purification tablets or a basic water filter for added security.
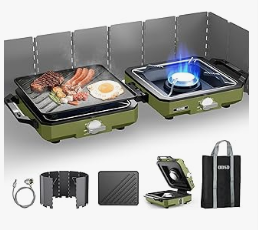
- Cooking Tools: A portable camp stove or grill, plus extra fuel, makes a big difference. If you’re out of power, boiling water is crucial forsafety and being able to prepare simple meals.
- Spices and Basic Seasonings: Even basic foods taste better with a pinch of salt, pepper, or your favorite spice blend. Small packets of hot sauce or soy sauce are easy to store and can boost bland emergency meals.
- Battery-Powered Light Source: Keeping a small flashlight or lantern in your pantry area means you can find what you need if the power is out.
Frequently Asked Questions
How do I start food storage for beginners with limited space?
Even with a small space, you can pull together a prepping pantry by using unused closets, underbed bins, or even stackable pantry organizers. Focus first on shelf-stable cans, dry goods, and smaller, calorie dense foods that last a while. Organize by priority so the most needed supplies are easy to grab.
What’s the best food for a bug-out food supply?
Lightweight foods like freeze-dried meals, protein bars, jerky, and small canned goods are ideal for a bug out bag. They last a long time and provide plenty of calories for the weight, making them simple to pack and grab quickly.
How long can I store canned foods?
Most canned goods will stay good for at least 2-5 years if kept cool and dry, but always check for bulging lids, dents, or rust. It’s safer to toss anything that looks off. Rotate your supply to avoid waste and keep tasting quality high.
Is it safe to store water in plastic bottles?
It’s fine for short term. For longer term storage, use food-grade containers designed for water storage, and refresh the supply every six months. Add a date to each bottle or container for easy tracking.
Planning Ahead for Peace of Mind
Putting together your emergency food storage pantry is easier than most folks think it will be. Even a small stash of food and water can make tough times much easier to handle. Start with the basics. Build a system that matches your family’s tastes, and keep things tidy and safe for the long run. Whether you’re prepping for a few days or a few months, these food storage tips can help you feel prepared, and a little more at ease, no matter what comes your way.
© 2025, admin. All rights reserved.
I really like how this article takes emergency food storage beyond just “stocking cans” and turns it into a practical, organized plan that fits real-life needs. The step-by-step guide makes it feel approachable, and the reminder to include comfort foods and special dietary items shows how thoughtful prepping can support both nutrition and morale during stressful times. I especially appreciated the tips on rotation and labeling, since that’s where many people slip up and waste food. One thing Hhow often do you recommend doing a full pantry check and rotation if someone’s just starting out with a small setup?
Thank you so much for your thoughtful feedback—I’m glad you found the article helpful! You’re absolutely right that comfort foods and mindful organization make a big difference in stressful times. As for pantry checks, if you’re just starting out with a smaller setup, I recommend doing a full rotation and check about every 3–4 months. That rhythm keeps things fresh, helps you get in the habit of using what you store, and makes it easy to spot anything that needs replacing. Over time, you may find a seasonal routine (like spring and fall) works best for you. The key is consistency—it keeps your pantry reliable and stress-free.