








Canning tomatoes in a water bath offers a practical way to preserve fresh flavors for use all year round. I’ve found it to be a super satisfying process, and it lets me stock up my pantry with homemade goodness that’s far tastier than anything from the store. If you’re new to canning, it might feel a little intimidating at first, but once you’ve followed the steps a couple of times, you’ll feel like a pro.
If this is your first time using a water bath canner, you may want to start with my step-by-step guide to water bath canning for beginners, which walks through the basic equipment, process, and common mistakes in more detail.
I’ve put together everything you’ll need to know for water bath canning tomatoes, so you can skip the guesswork and get straight to the tasty results.
Gathering Your Tomato Canning Supplies
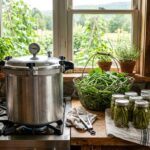
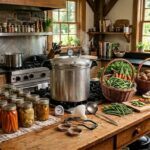
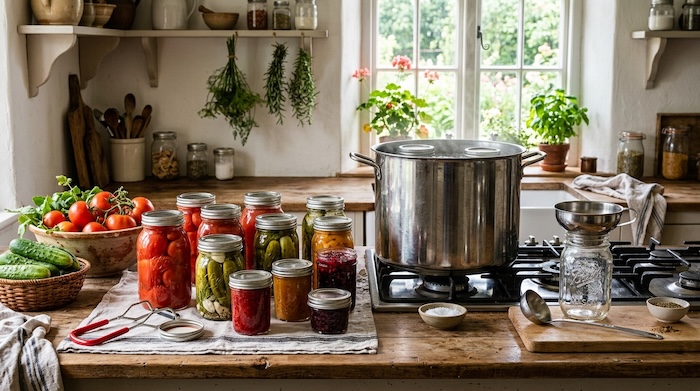
Having the right tools makes canning tomatoes go a lot smoother. Not every gadget on the market is necessary, but a solid setup saves time and reduces spills. Here are the basics I always lay out on my kitchen counter:
- Large pot: For blanching and peeling the tomatoes. It needs to be large enough to comfortably hold several tomatoes at a time.
- Water bath canner or tall stockpot: Your canner needs to be deep enough to keep the jars covered with the required amount of boiling water throughout processing. If you plan to can regularly, a water bath canner with a removable jar rack makes loading and removing jars much easier.
- Canning jars, lids, and bands: Use Mason-style jars designed specifically for home canning. For this recipe, you can use either pint or quart jars depending on how much you typically use at one time. You’ll need a new lid for each jar.
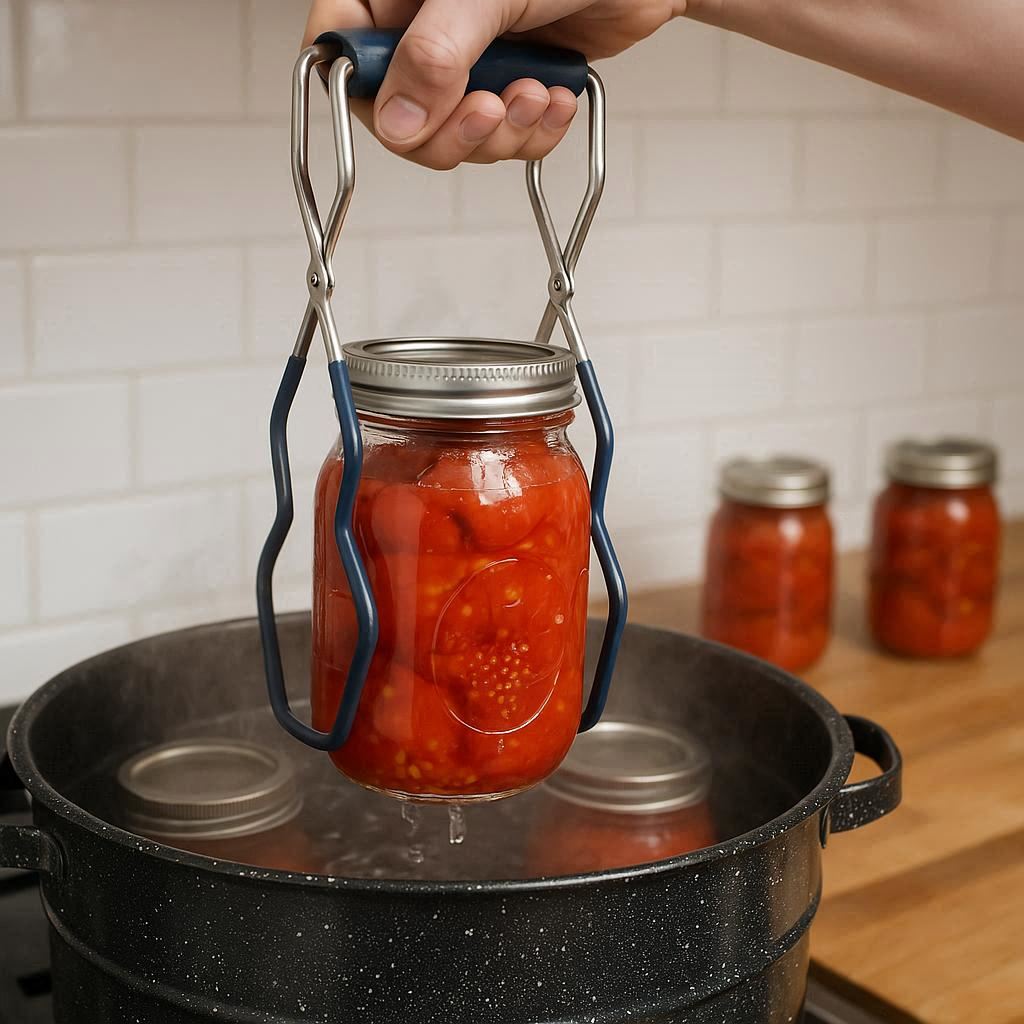
- Jar lifter: Picking up hot jars out of boiling water calls for a special tool for safety.
- Funnel and ladle: These make packing your jars quicker and much less messy.
- Bubble remover or plastic spatula: Pretty handy for getting trapped air out of the jar.
It’s also smart to have clean towels, a timer, and a bowl of ice water for peeling your tomatoes quickly and neatly.
If you’re just getting started and don’t already have these smaller tools, a basic canning tool kit with a jar lifter, funnel, and headspace tool can be an inexpensive way to get the essentials together.
Picking and Prepping Tomatoes for Canning
Great canned tomatoes start with top-quality, ripe tomatoes. I like using Roma or paste types because they’re meatier and less watery, but just about any variety will do as long as they’re fresh and firm. Avoid tomatoes that are overripe or bruised, since they tend to fall apart when jarred and won’t hold their shape.
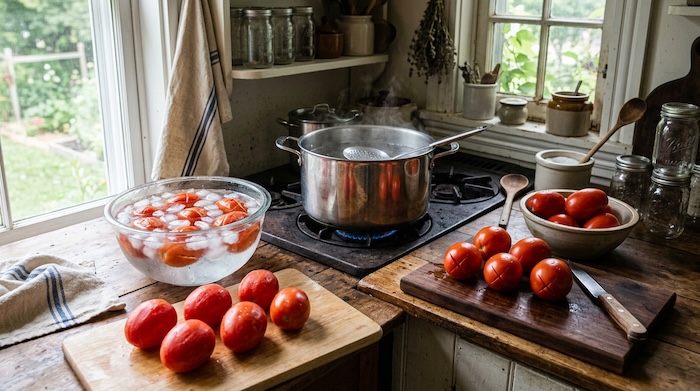
I usually wash and core the tomatoes, then cut a small X in the bottom of each one. Dip them in boiling water for 30–60 seconds, or until the skins begin to split, then transfer them to cold water. The skins should slip off quite easily. Once peeled, leave the tomatoes whole or cut them in halves. Keep them ready while you prepare your hot jars and boiling water for packing.
Step-by-Step Guide: Water Bath Canning Tomatoes
- Prepare your jars: Wash your canning jars in hot, soapy water and rinse well. Check each jar for cracks or chips and keep the jars hot until you’re ready to fill them. Because these tomatoes will be processed for longer than 10 minutes, the jars do not need to be pre-sterilized. Prepare your lids according to the manufacturer’s directions.
- Get your canner ready: Begin heating water. Make sure you have enough water to completely cover the jars by an inch or two.
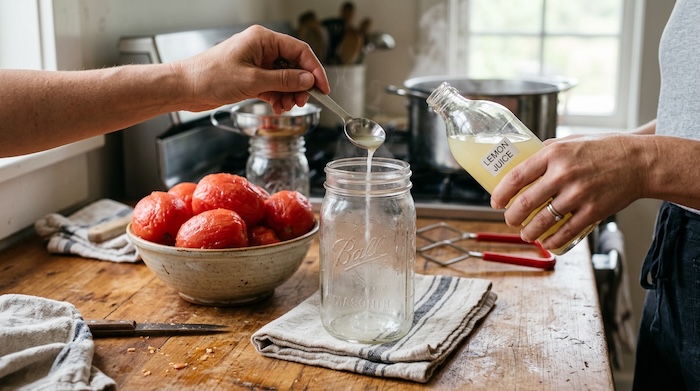
- Add acid to each jar: This step is essential for safe tomato canning. Add 1 tablespoon bottled lemon juice or ¼ teaspoon citric acid to each pint jar. For quarts, use 2 tablespoons bottled lemon juice or ½ teaspoon citric acid. Add the acid directly to each jar before filling it with tomatoes.
- Pack the jars: Place the prepared raw tomatoes into the hot jars, leaving ½ inch of headspace. Pour boiling water over the tomatoes, maintaining ½ inch of headspace.
- Remove bubbles and clean: Take a spatula or bubble remover and slide it along the inside of the jar to release trapped air. Wipe the rim with a clean, damp towel for a good seal.
- Seal and load: Put the lid on and screw the band down until it’s just fingertip-tight. Use your jar lifter to place jars into the hot canner.
- Process the jars: Once the water returns to a full boil, start your processing time. At elevations of 0–1,000 feet, process pint jars for 40 minutes and quart jars for 45 minutes. At 1,001–3,000 feet, process for 45/50 minutes; at 3,001–6,000 feet, 50/55 minutes; and above 6,000 feet, 55/60 minutes. Keep the jars covered with boiling water throughout processing.
- Cool jars: Turn off the heat. Leave jars in the water for 5 minutes, then move them to a towel-lined counter. Jars should make a “ping” as they seal. Allow them to cool for at least 12 hours before testing the seal or storing.
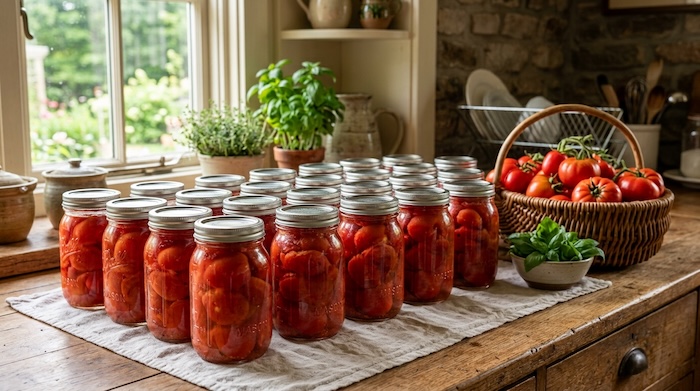
Once cooled, label the jars and stash them in a cool, dark spot. Any jars that didn’t seal should be refrigerated and eaten within a week.
Safety Tips and Common Questions About Tomato Canning
Why is acid added, and do I really need lemon juice?
Homegrown tomatoes generally don’t have enough acid for safe canning, so adding lemon juice raises the acidity to help keep dangerous bacteria out. Always use bottled lemon juice or citric acid for best results. This step isn’t optional for shelf-stable tomatoes. If the flavor seems too tart, stir in a pinch of sugar to each jar to balance it out.
How do I can tomatoes the old-fashioned way?
Traditional tomato canning often skipped the acid, but up-to-date advice stresses that you should always add it for safety. The method is similar otherwise—peeling, packing, and boiling—the key today is sticking with the acid and recommended processing times. Historical methods often called for longer boiling, but that’s not as safe as using lemon juice and following modern timing.
How long do you water bath can tomatoes?
Here’s the correct timing for tomatoes packed in their juice:
- Pint jars: 40 minutes in a boiling water bath.
- Quart jars: 45 minutes in a boiling water bath.
If you’re at a higher altitude, increase the processing time accordingly. For the most accurate info, check trusted sources like the National Center for Home Food Preservation.
What if you forgot to add lemon juice?
If you forgot to add the required bottled lemon juice or citric acid before processing your tomatoes, do not store those jars on the pantry shelf. Proper acidification is an important part of the tested canning process for tomatoes.
The safest simple option is to refrigerate the tomatoes promptly and use them soon, or freeze them in freezer-safe containers. Don’t assume that pressure canning instead of water bath canning makes it safe to leave out the acid—tested NCHFP procedures for these whole or halved tomatoes require acidification for both methods.
If you’re ever unsure whether a batch was processed correctly, don’t taste it to determine whether it’s safe.
Is water bath canning better, or should I use a pressure canner?
Both water bath canning and pressure canning can be safe methods for preserving tomatoes when you follow a tested recipe designed for that method.
For the whole or halved tomatoes packed in water described in this guide, water bath canning is an easy option and doesn’t require a pressure canner. However, the tomatoes still need to be properly acidified with bottled lemon juice or citric acid.
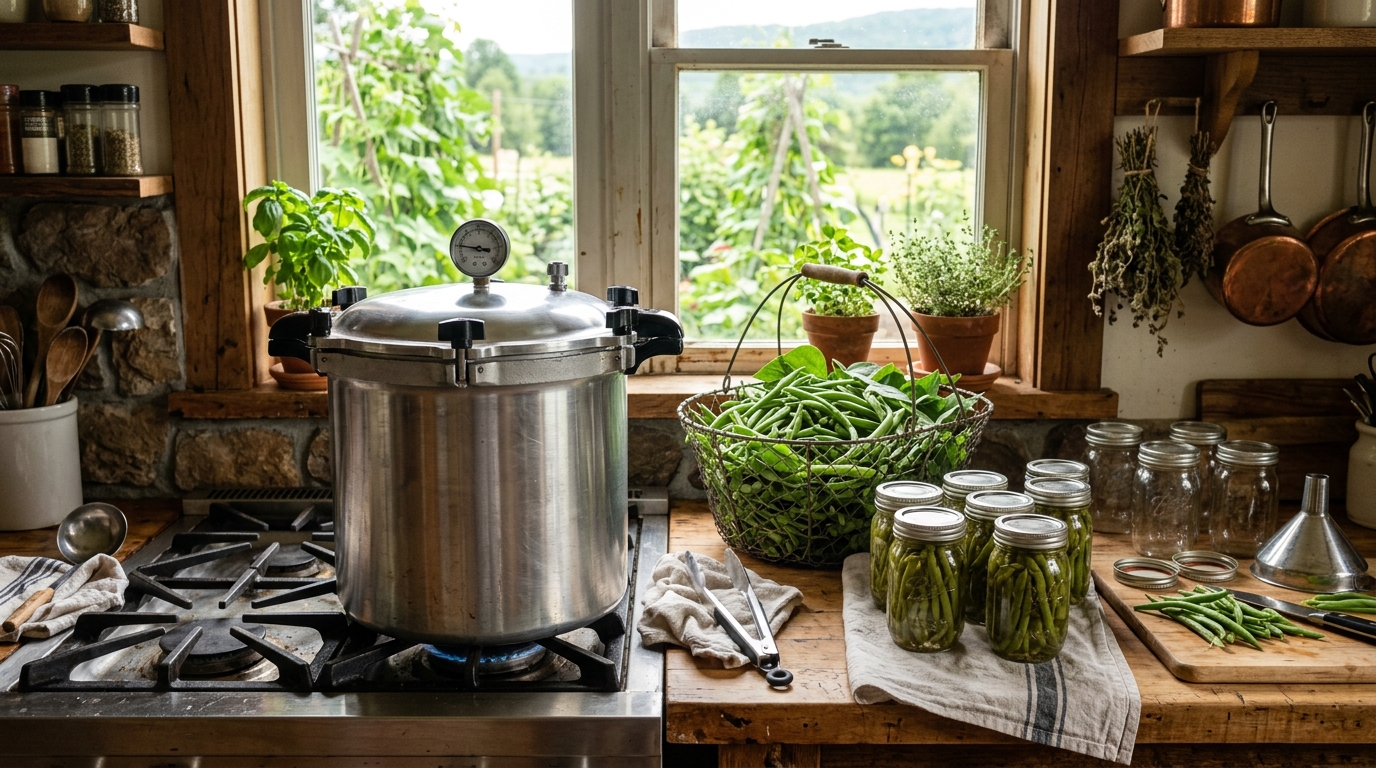
Pressure canning is also an option for tomatoes, but don’t use it as a way to skip the acid. Current tested procedures for whole or halved tomatoes packed in water still require acidification even when a pressure canner is used.
If you’re adding low-acid ingredients such as vegetables to tomatoes, use a tested recipe specifically developed for that combination rather than changing this recipe yourself.
It’s also important to know that not every food is suitable for home canning. My guide to 10 foods you should never can and why explains some of the foods and ingredients that require extra caution or aren’t suitable for home canning.
How long do tomatoes stay in the canner after turning off the heat?
I always let the jars sit in the canner with the heat off and the lid on for 5 minutes before moving them to cool. This helps prevent liquid from spilling out of the jars and improves the likelihood of all your jars sealing well.
Extra Tips for Home Canners
- Tomato variety: Go for paste tomatoes like Roma or San Marzano for easier peeling and less water inside the jar.
- Headspace: Leave about 1/2 inch at the top of your jars to prevent mess and make sure the jars seal well. Don’t cram them too tight; gentle packing works best.
- Removing skins: Peel the tomatoes as directed in this tested canning method. Removing the skins isn’t just about texture—the processing instructions were developed and tested using peeled tomatoes, so it’s important to follow the recipe as written.
Frequently Asked Questions
I hear these questions from canning friends and neighbors all the time, so here are a few more tips to keep your canning adventure smooth:
Q: Can I add herbs or garlic to my jars?
For this recipe, I recommend keeping the tomatoes plain and following the tested canning instructions rather than adding fresh garlic, onions, peppers, or other low-acid ingredients to the jars.
If you want seasoned tomatoes, use a tested canning recipe that specifically includes those ingredients and provides the correct processing method and time.
Another easy option is to can your tomatoes plain and add garlic, herbs, and other seasonings when you open the jar and use the tomatoes in a meal. That’s what I prefer because it gives me more flexibility when I’m cooking.
Q: Can I use a dishwasher to sterilize jars?
Yes. A dishwasher is a convenient way to wash your canning jars and can also help keep them hot until you’re ready to fill them. You can also wash the jars by hand in hot, soapy water and rinse them well.
For this tomato recipe, the jars do not need to be pre-sterilized because they will be processed in the canner for longer than 10 minutes. However, the jars should be clean, free of cracks or chips, and kept hot until you’re ready to fill them.
Avoid heating canning jars in the oven unless the jar manufacturer specifically recommends it. Standard Mason jars are designed for canning in water, not for dry oven heat.
Q: Can I reuse lids?
No. Always use fresh lids each time you can, since using old ones can lead to seal failures. The sealing material on canning lids is made for a single use.
Last Thoughts on Water Bath Canning Tomatoes
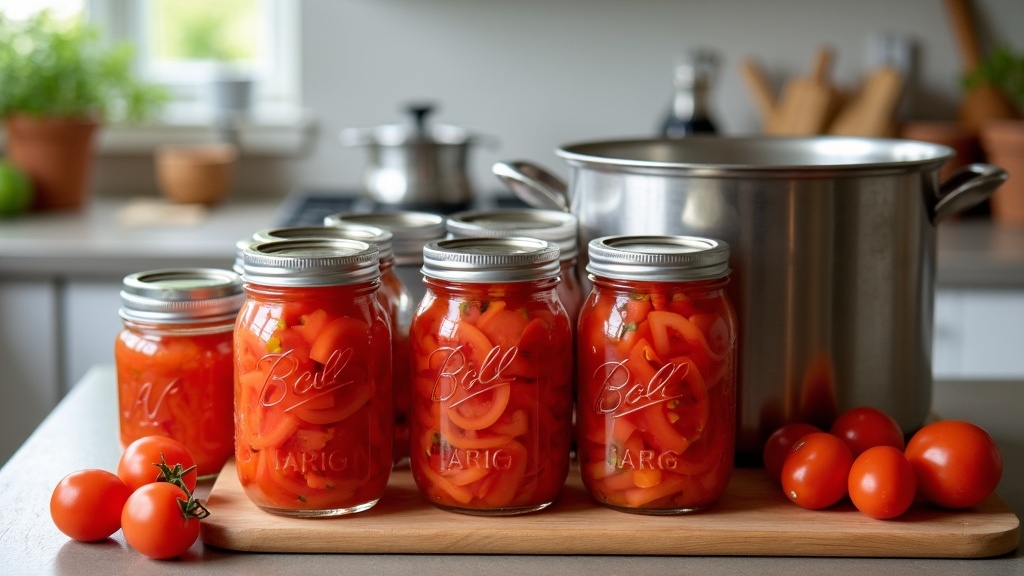
Water bath canning tomatoes is straightforward, fun, and can really become addictive over time. There’s a special kind of satisfaction in seeing bright red jars stacked neatly on your shelf, knowing you made them yourself. With just a few inexpensive tools, careful steps, and always adding lemon juice for safety, you’ll be set to enjoy the taste of summer tomatoes in sauces, stews, soups, and more long after the growing season has ended. Taste the reward of your efforts on a cold winter night—you’ll be glad you did.
Once you’re ready to preserve more of your harvest, you can explore my other home canning recipes and guides for more ideas and step-by-step instructions.
Food Safety Note: Always use a current, tested canning recipe and follow the recommended processing time, jar size and altitude adjustments. Canning recommendations can change, so check a trusted source such as the National Center for Home Food Preservation for current guidelines.
© 2025 – 2026, Teresa. All rights reserved.
First off, I love your website. Very well done! Cool category ‘names’ and emojis. I’ve bookmarked your site for reference 🙂
I’m very interested in this subject, having two survival prepping sites. I’ve wanted to can tomatoes from my own garden, but I didn’t have enough. Too hot this year. I don’t really want to take the time to do all of the work on store-bought or produce-stand tomatoes, but your recipe is so well laid out that it’s tempting to do it anyway.
Thanks for the water-bath process! I had planned to use my pressure cooker, but this looks much easier. Can I use lime juice in a bottle, or does it have to be lemon? Which size jar, pint or quart, works the best for this?
Looks like I will be planting Roma tomatoes next year. I had tried heirloom and cherry. The cherry did great and a few more are still coming in. I’ve left them in their pots.
Teri
Thank you so much for your kind words! I’m glad you found the recipe and process easy to follow — that makes me happy to hear ????
For canning tomatoes, you can use either bottled lemon juice or bottled lime juice — both are safe and USDA-approved for acidity. Just avoid fresh juice, since the acidity can vary.
As for jar size, both pints and quarts work well — it really comes down to how much you’ll use at a time. Pints are great for smaller meals or sauces, while quarts are handy if you go through a lot of tomatoes at once.
Roma tomatoes are definitely a good choice for next year — they’re meaty and perfect for canning. Heirlooms and cherries are delicious fresh, but as you noticed, they’re a bit more work for preserving.
Sounds like you’ve got a great garden going already. I’d love to hear how your canning turns out when you try it!
It’ll be next year, so I may not remember to tell you, lol. I’m enjoying your site in the meantime 🙂
Thanks ??