



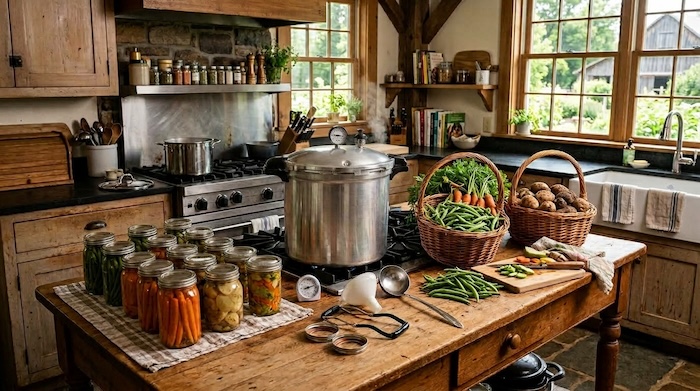
If you grow a vegetable garden, there usually comes a point in the summer when you have more food coming in than you can eat fresh. Green beans seem to appear overnight, carrots are ready to pull, and suddenly you’re trying to figure out what to do with everything before it goes to waste.
Freezing is always an option, but freezer space disappears pretty quickly. That’s one reason I like having different ways to preserve what we grow.
For many low-acid vegetables, pressure canning is the method you need for safe shelf-stable storage.
Pressure canning can seem intimidating when you’re first getting started. There’s a gauge or weight to watch, pressure to maintain, and processing times that have to be followed carefully.
But once you understand how the process works, it becomes much less intimidating.
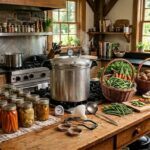
In this guide, I’ll walk you through the basics of pressure canning vegetables, the equipment you’ll need, the mistakes to avoid, and the steps involved in safely using a pressure canner.
Affiliate Disclosure: This post may contain affiliate links. As an Amazon Associate, I earn from qualifying purchases at no additional cost to you.
Food Safety Note: Always use a current, scientifically tested canning recipe for the specific vegetable you’re preserving. Processing time, pressure, preparation method, and jar size can vary depending on the food and your elevation.
- What Is Pressure Canning?
- Water Bath Canning vs. Pressure Canning
- What Vegetables Can Be Pressure Canned?
- Pressure Canner vs. Pressure Cooker
- What You’ll Need for Pressure Canning
- Before You Start: Know Your Altitude
- How to Pressure Can Vegetables Step by Step
- Example: Pressure Canning Carrots
- Common Pressure Canning Mistakes
- Pressure Canning FAQ
What Is Pressure Canning?
Pressure canning uses a specialized canner that traps steam and builds pressure inside the canner. This allows the temperature to rise higher than the temperature reached in a boiling-water canner.
That higher temperature is necessary when preserving low-acid foods, including many vegetables.
This is important because low-acid foods can provide conditions where Clostridium botulinum can grow and produce the toxin that causes botulism if the food isn’t processed correctly.
That’s why you can’t simply put vegetables into a boiling-water canner and process them longer.
If you’re new to water bath canning as well, my Step-by-Step Guide to Water Bath Canning for Beginners explains how that method works and when it is appropriate.
Water Bath Canning vs. Pressure Canning
The biggest difference between these two methods is the type of food they’re designed to preserve.
Water bath canning is used for properly prepared high-acid or acidified foods, such as many fruits, jams, jellies, pickles, and certain tomato recipes.
Pressure canning is used for low-acid foods such as many plain vegetables, meats, poultry, and seafood.
Tomatoes are a little different because tested tomato-canning procedures may require added acid even when a pressure-canning option is provided.
If tomatoes are what you’re preserving, see my How to Water Bath Can Tomatoes guide rather than assuming the instructions for other vegetables apply.
The important thing to remember is that the food determines the canning method.
You shouldn’t choose water bath or pressure canning based on convenience. Start with a tested recipe for the food you want to preserve and use the method that recipe specifies.
What Vegetables Can Be Pressure Canned?
There are tested pressure-canning procedures for many common garden vegetables, including foods such as:
- Green beans and wax beans
- Carrots
- Corn
- Peas
- Potatoes
- Beets
- Asparagus
- Some types of squash prepared in specific ways
- Mixed vegetables prepared according to tested recipes
That doesn’t mean you can put any combination of vegetables into a jar and pressure can it.
Preparation matters too.
A tested recipe might call for a vegetable to be cubed, sliced or left in pieces. Turning that same vegetable into a thick puree can completely change how heat moves through the jar.
Pumpkin and winter squash are a good example. Tested pressure-canning procedures exist for properly prepared cubes, but mashed or pureed pumpkin isn’t recommended for home canning.
I talk about this in more detail in 10 Foods You Should Never Can (and Why).
Pressure Canner vs. Pressure Cooker
This is something that can be confusing when you’re first getting started.
A pressure canner and a small pressure cooker aren’t automatically interchangeable.
Pressure canners used with USDA home-canning processes need to be large enough to hold at least four quart jars standing upright. Small pressure saucepans aren’t recommended for these processes.
So if you’re buying equipment specifically for preserving low-acid foods, look for a pressure canner designed for home canning, not simply a pressure cooker.
If you expect to preserve a lot of garden vegetables, a pressure canner designed specifically for home canning is one piece of equipment worth buying.
Your pressure canner will generally use either a dial gauge or a weighted gauge to indicate or regulate pressure.
Whichever style you use, read the manufacturer’s instructions for your particular model in addition to following your tested canning recipe.
What You’ll Need for Pressure Canning
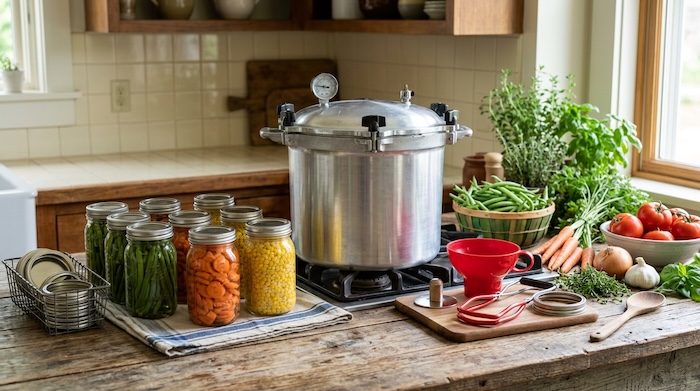
You don’t need a kitchen full of special equipment, but you do need the right basics.
Pressure Canner
This is the most important piece of equipment.
Make sure it’s a pressure canner, not just a small pressure cooker, and make sure it’s large enough for approved home-canning processes.
Mason Jars
Use jars manufactured for home canning. Before each canning session, check them carefully for cracks, chips around the rim or other damage.
Canning Lids and Bands
Follow the lid manufacturer’s directions. Standard flat metal canning lids are generally intended for one-time canning use, although the screw bands can be reused as long as they’re in good condition.
Jar Lifter
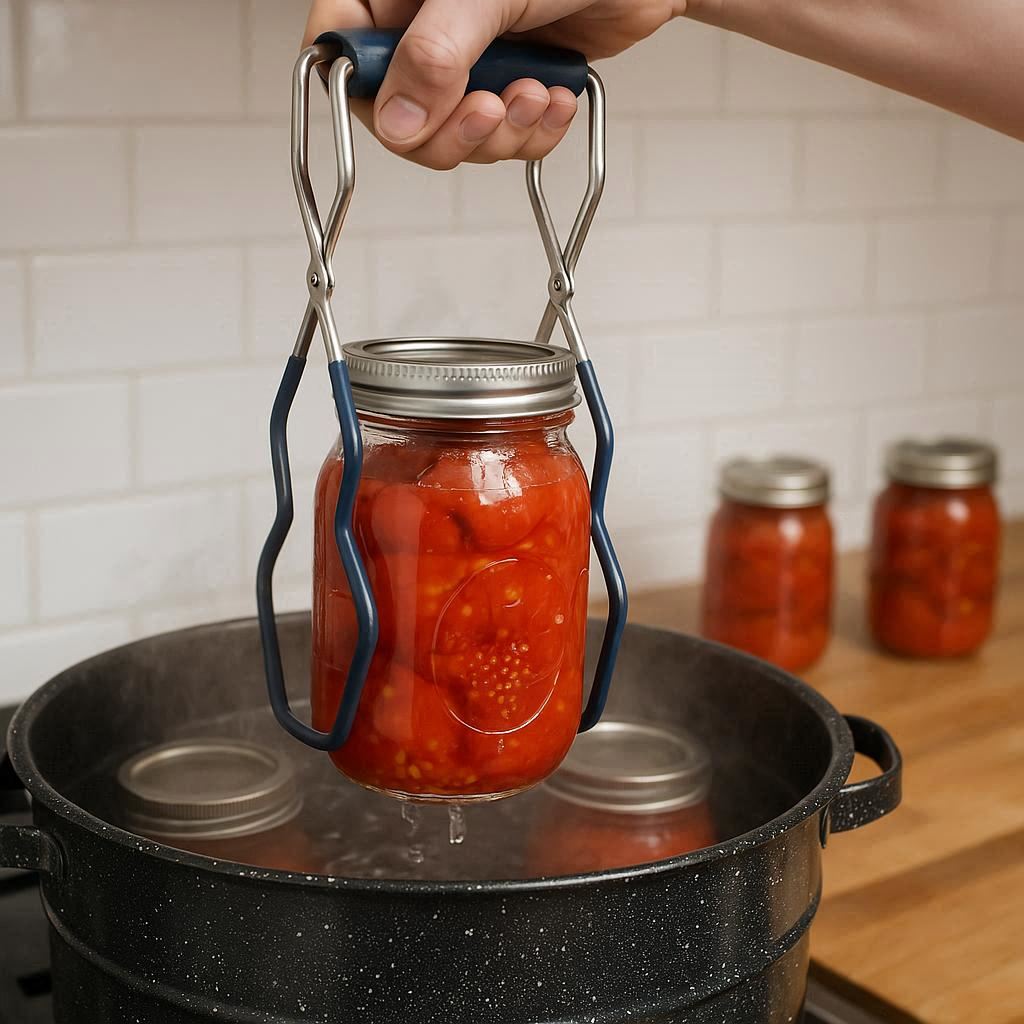
A jar lifter makes it much safer to move hot jars in and out of the canner.
Canning Funnel
A wide-mouth funnel makes filling jars easier and helps keep food away from the rim.
Bubble Remover and Headspace Tool
This inexpensive tool helps remove trapped air bubbles and lets you check that you’ve left the amount of headspace specified in your recipe.
If you’re just getting started, a basic home canning tool kit with a jar lifter, funnel and headspace tool is often an easy way to get the smaller pieces together.
You’ll also want clean towels, measuring spoons and whatever knives, cutting boards, peelers or other kitchen tools are needed to prepare your vegetables.
Before You Start: Know Your Altitude
This is one of the most important things to understand about pressure canning.
Pressure must be adjusted for elevation.
As elevation increases, atmospheric pressure decreases. That means the canner needs to operate at a higher gauge pressure at higher elevations to achieve the temperature required by the tested process.
The required adjustment also depends on whether you’re using a dial-gauge or weighted-gauge pressure canner.
Don’t guess at this.
Find your elevation and then use the pressure table provided with the tested recipe you’re following.
If you have a dial-gauge canner, the gauge should also be checked for accuracy before use each year. Follow the manufacturer’s recommendations and current canning guidance for having it tested.
How to Pressure Can Vegetables Step by Step
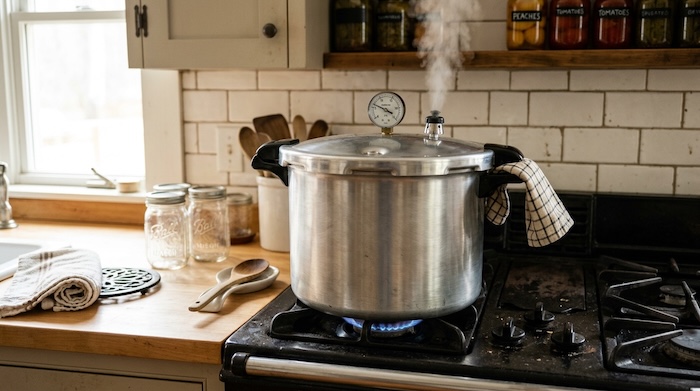
The exact preparation, pressure, and processing time will depend on the vegetable you’re canning, so think of these as the basic operating steps, not a substitute for the tested recipe.
1. Choose a Tested Recipe
This always comes first.
Before picking vegetables, filling jars, or heating the canner, find a current tested recipe for the exact food you’re preserving.
Pay attention to:
- How the vegetable should be prepared
- Whether it uses a hot pack or raw pack
- Jar size
- Headspace
- Processing time
- Required pressure
- Altitude adjustments
Don’t change jar sizes or processing times unless the tested instructions provide for that change.
2. Prepare the Canner
Follow the manufacturer’s directions for your particular pressure canner.
Place the jar rack in the bottom and add the amount of water recommended for your canner and the process you’re using.
Unlike water bath canning, the jars aren’t normally submerged under several inches of water in a pressure canner.
Begin heating the water while you prepare your food and jars.
3. Prepare Your Jars
Wash your jars in hot, soapy water and rinse them well.
Check each one for chips or cracks.
Keep the jars hot until you’re ready to fill them so you’re not putting hot food or liquid into cold glass.
Prepare the lids according to the manufacturer’s directions.
4. Prepare the Vegetables
Follow the tested recipe exactly.
Wash the vegetables thoroughly and peel, trim, slice, cube, or otherwise prepare them according to the instructions.
Some vegetables can be raw packed while others may have a hot-pack option or recommendation.
Don’t puree or mash vegetables unless your tested recipe specifically tells you to.
5. Fill the Jars
Fill the jars according to the recipe and add the specified hot liquid if required.
Leave the exact amount of headspace called for in the recipe.
Use a bubble remover to release trapped air if directed, then check the headspace again and adjust it if necessary.
Wipe the jar rims clean and apply the lids and bands according to the lid manufacturer’s instructions.
6. Load the Pressure Canner
Place the filled jars upright on the rack inside the canner.
Lock the canner lid in place according to your manufacturer’s instructions.
At this point, do not put the weight or pressure regulator over the vent yet unless your particular manufacturer’s directions specify otherwise.
7. Vent the Canner for 10 Minutes
This is a step you don’t want to skip.
Heat the canner with the vent open. Once you have a steady, continuous stream of steam coming from the vent, allow the canner to vent continuously for 10 full minutes.
Venting removes air trapped inside the canner.
After the 10-minute venting period, close the petcock or place the appropriate weight or pressure regulator over the vent according to your canner’s instructions.
8. Bring the Canner to the Required Pressure
Allow the pressure to gradually rise until the canner reaches the pressure specified for your recipe, canner type and altitude.
Don’t begin timing the processing period until the canner has reached the required pressure.
Once it does, start your timer.
9. Maintain the Correct Pressure for the Entire Processing Time
Adjust the heat as necessary to maintain the required pressure.
Keep an eye on a dial gauge or follow the manufacturer’s directions for the rocking or movement of a weighted gauge.
If the pressure falls below the required level at any point, bring the canner back to the correct pressure and restart the entire processing time from the beginning.
That’s frustrating when you’re almost finished, but it’s important for safety.
10. Let the Canner Cool Naturally
When the full processing time is complete, turn off the heat.
Now leave the canner alone and allow it to depressurize naturally.
Don’t try to speed this up by removing the weight early, opening the vent, pouring cold water over the canner or otherwise forcing it to cool.
Wait until the canner has completely depressurized, following the manufacturer’s directions for your model.
11. Open the Canner Carefully
Once the canner is fully depressurized, remove the weight or open the petcock as directed by the manufacturer.
Wait as instructed before opening the lid.
When you remove the lid, tilt it away from your face so the hot steam escapes away from you.
12. Remove and Cool the Jars
Use a jar lifter to remove the jars and place them upright on a towel or cooling rack where they won’t be disturbed.
Don’t tighten the bands or press down on the lids.
Allow the jars to cool undisturbed for 12 to 24 hours.
Once they’re cool, check the seals. Remove the screw bands, wash and dry the jars if necessary, label them with the contents and date, and store them in a cool, dark, dry place.
Example: Pressure Canning Carrots
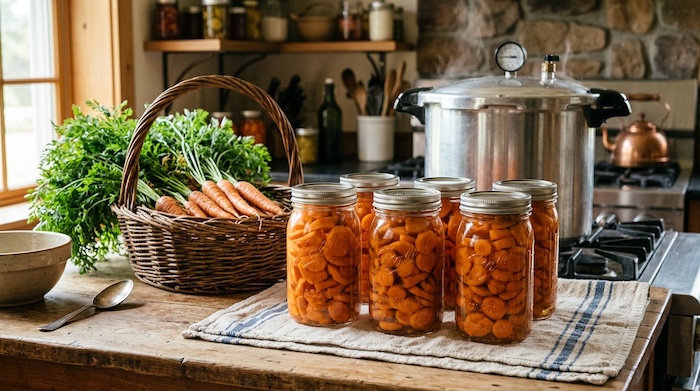
Carrots are a good example of how a tested pressure-canning recipe works.
Current tested instructions from the National Center for Home Food Preservation call for washing, peeling and rewashing the carrots before slicing or dicing them.
They can be prepared using either a hot pack or raw pack.
For a hot pack, the prepared carrots are covered with boiling water and simmered for 5 minutes before being packed into jars.
For a raw pack, raw carrots are packed tightly into the jars.
Hot water or cooking liquid is added, leaving 1 inch of headspace.
Salt can be added for flavour if you want it, but it isn’t required for preservation.
For both hot- and raw-packed carrots, the tested processing time is:
- Pints: 25 minutes
- Quarts: 30 minutes
The pressure depends on your elevation and the type of pressure canner you’re using.
For example, with a dial-gauge pressure canner, the current tested carrot procedure calls for 11 pounds of pressure at elevations from 0 to 2,000 feet, increasing at higher elevations.
With a weighted-gauge pressure canner, the same carrot procedure uses 10 pounds at 0 to 1,000 feet and 15 pounds above 1,000 feet.
This is exactly why I don’t like giving one blanket statement such as “pressure can vegetables at 10 pounds.” It isn’t accurate for everyone.
Always check the pressure table for the specific recipe and your elevation before starting.
Common Pressure Canning Mistakes
Most pressure-canning mistakes are avoidable once you know what to watch for.
Using a Pressure Cooker Instead of a Pressure Canner
Make sure your equipment is appropriate for the tested process you’re using. A small pressure saucepan isn’t a substitute for a pressure canner.
Skipping the 10-Minute Vent
A pressure canner needs to vent before it’s pressurized. Trapped air can result in a lower temperature inside the canner at a given pressure.
Let that steady stream of steam escape for the full 10 minutes before pressurizing.
Guessing at Pressure
Your required pressure depends on your altitude, the type of gauge you’re using and the tested recipe.
Look it up every time rather than relying on memory.
Letting the Pressure Drop
If pressure falls below the required level during processing, the processing time needs to start again once the correct pressure has been restored.
Try to make small heat adjustments rather than constantly turning the burner dramatically up and down.
Changing a Tested Recipe
Adding extra vegetables, pureeing ingredients, thickening soups or changing the size of the food pieces can affect how heat penetrates the jar.
I save my experimenting for when I open the jar and make dinner.
Rushing the Cooling Process
Pressure canners need to cool and depressurize naturally.
Trying to speed things up can interfere with the canning process and can also cause liquid to siphon from the jars.
Pressure Canning FAQ
Can I pressure can all vegetables?
No. Only use pressure-canning procedures that have been tested for the particular vegetable and preparation you’re using.
If you can’t find a current tested procedure for the food you want to preserve, choose another preservation method.
Can I pressure can vegetables without adding salt?
In many tested plain-vegetable recipes, salt is included for flavour rather than safety and may be optional. Follow the instructions for the particular recipe you’re using.
For example, the tested NCHFP carrot procedure says salt may be added if desired.
Do I have to sterilize jars before pressure canning?
Jars don’t need to be pre-sterilized when the filled jars will be processed for 10 minutes or longer.
They should still be clean, inspected for damage and kept hot until you’re ready to fill them.
Why do I have to vent a pressure canner?
Venting removes air from inside the canner so that the canner contains the steam necessary to reach the expected processing temperature at the specified pressure.
That’s why the 10-minute vent isn’t an optional warm-up period—it’s part of proper pressure-canner operation.
What happens if the pressure drops while I’m canning?
If the pressure drops below the pressure required by your tested recipe, bring the canner back to the correct pressure and restart the full processing time.
Can I use an electric pressure cooker for canning vegetables?
Don’t assume an electric multicooker or pressure cooker can be used for USDA pressure-canning processes.
Use equipment appropriate for tested home pressure-canning procedures and follow the manufacturer’s instructions for that pressure canner.
Is pressure canning difficult?
I think it looks much more complicated than it actually is.
The first few times, you’ll probably find yourself checking the instructions constantly—and that’s perfectly fine. I still think canning instructions are something worth checking rather than relying entirely on memory.
Once you understand venting, pressure, processing time and natural cooling, the overall routine becomes much easier to follow.
Final Thoughts on Pressure Canning Vegetables
Pressure canning gives you another way to make the most of a productive garden.
Instead of trying to squeeze another bag of green beans into the freezer, you can turn part of your harvest into shelf-stable food that is ready when you need it.
But pressure canning is one area where I don’t improvise.
I start with a current tested recipe, prepare the food the way the recipe specifies, check my altitude, use the correct pressure and process the jars for the full amount of time.
Once you understand those basics, there’s a whole range of garden vegetables you can start preserving.
And that’s where I think we’ll go next—taking vegetables such as green beans, carrots and potatoes one at a time and looking at exactly how to preserve each one safely.
If pressure canning isn’t the right method for something you’ve grown, remember that freezing, dehydrating, fermenting and other preservation methods give us plenty of other options. The goal isn’t to can everything. It’s to choose the preservation method that works best—and safely—for the food you have.
© 2026, Teresa. All rights reserved.