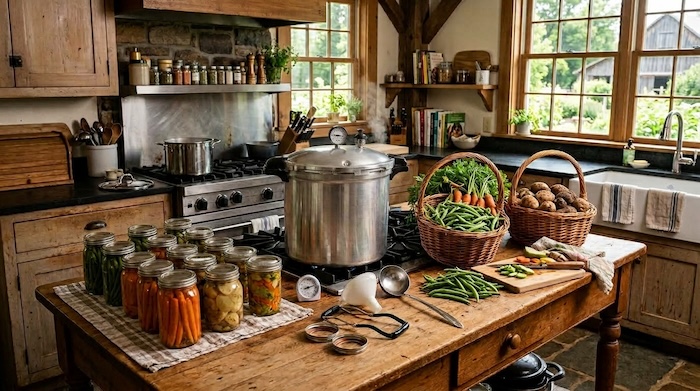



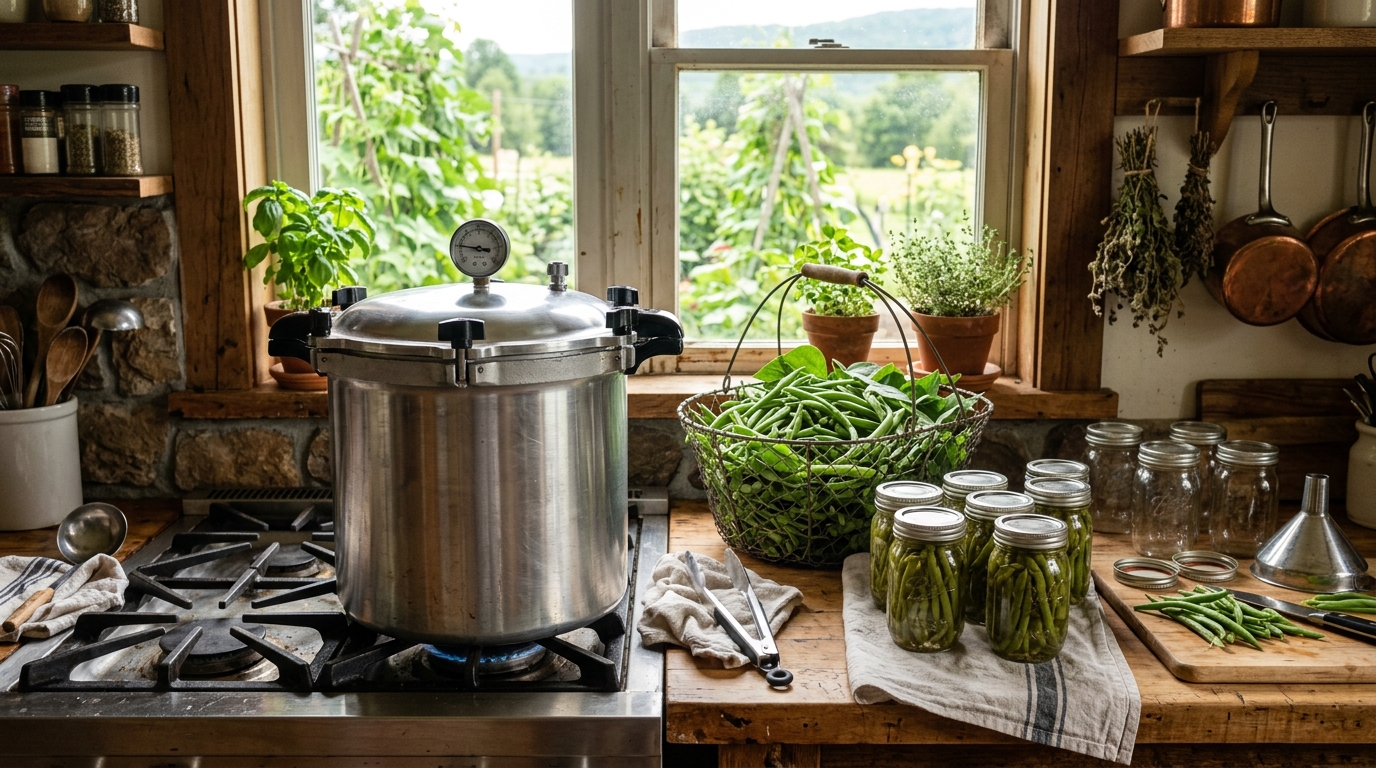
Green beans are one of those vegetables that can suddenly leave you wondering what you’re going to do with all of them.
You pick the garden one day, come back a short time later, and somehow there are enough beans ready for another basket.
Freezing green beans is certainly an option, but I also like having vegetables stored on the pantry shelf. They don’t take up precious freezer space, and having jars of vegetables ready to use makes putting together a meal much easier.
If you want to can green beans at home, though, there’s one very important thing to know:
Green beans must be pressure-canned.
Plain green beans are a low-acid food, so a boiling-water canner doesn’t reach the temperatures needed for their safe processing. Processing them longer in a water bath doesn’t make them safe.
Fortunately, pressure canning green beans isn’t particularly difficult once you understand the process.
In this guide, I’ll show you how to prepare green beans for pressure canning, the difference between hot packing and raw packing, how much headspace to leave, and the correct processing times and pressures to use.
Food Safety Note: This guide follows the current National Center for Home Food Preservation procedure for pressure canning snap and Italian beans, including green and wax beans. Always check current tested canning recommendations before preserving food at home.
- Why Green Beans Need to Be Pressure Canned
- What Kind of Green Beans Can You Can?
- How Many Green Beans Do You Need?
- Supplies You’ll Need
- Preparing Green Beans for Canning
- Hot Pack vs. Raw Pack Green Beans
- How to Pressure Can Green Beans Step by Step
- Processing Times and Pressure
- What If the Pressure Drops?
- Cooling the Pressure Canner
- Common Green Bean Canning Mistakes
- Pressure Canning Green Beans FAQ
- What Can You Do With Home-Canned Green Beans?
Why Green Beans Need to Be Pressure Canned
Green beans are naturally low in acid.
That makes them different from high-acid foods and properly acidified foods that can be safely processed in a boiling-water canner.
Low-acid vegetables need the higher temperatures achieved inside a pressure canner to be safely processed for shelf-stable storage.
This is one of those canning rules I wouldn’t try to work around. The National Center for Home Food Preservation specifically states that there is no safe option for processing plain green beans in a boiling-water canner.
If you’re completely new to pressure canning, I recommend reading my Pressure Canning Vegetables for Beginners: A Step-by-Step Guide first. It explains how a pressure canner works, venting, altitude adjustments, and the basic pressure-canning process in more detail.
What Kind of Green Beans Can You Can?
For pressure canning, choose fresh, tender beans that are still crisp.
You can use:
- Green snap beans
- Wax beans
- Italian-style beans
Avoid beans that are diseased, rusty, or badly damaged.
I prefer to preserve beans while they’re still fairly young and tender. Once beans become large and tough, the finished product isn’t nearly as nice.
Ideally, pick and preserve them while they’re fresh rather than leaving them sitting around for several days.
How Many Green Beans Do You Need?
This is helpful to know before heading out to the garden with a basket.
According to current tested guidance, you’ll need approximately:
- 9 pounds of green beans for a canner load of 9 pints
- 14 pounds for a canner load of 7 quarts
A 30-pound bushel of beans will generally yield somewhere around 12 to 20 quarts.
Those amounts are estimates, of course. The size of the beans, how much you trim away, and how tightly they’re packed will affect the final yield.
Supplies You’ll Need
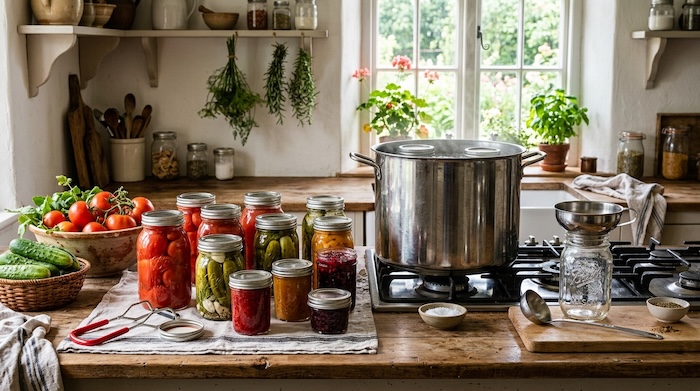
You don’t need a huge amount of specialized equipment to can green beans, but you do need a proper pressure canner.
You’ll need:
- Fresh green beans
- Pressure canner
- Canning rack
- Mason jars
- New canning lids
- Screw bands
- Jar lifter
- Canning funnel
- Bubble remover/headspace tool
- Large pot if you’re using the hot-pack method
- Clean towels
- Canning salt, if desired
If you’re planning to preserve low-acid vegetables regularly, a pressure canner designed specifically for home canning is one of the most useful pieces of equipment to have.
If you don’t already own the smaller canning tools, a basic canning tool kit with a jar lifter, funnel, and headspace tool can also make the job much easier.
Preparing Green Beans for Canning
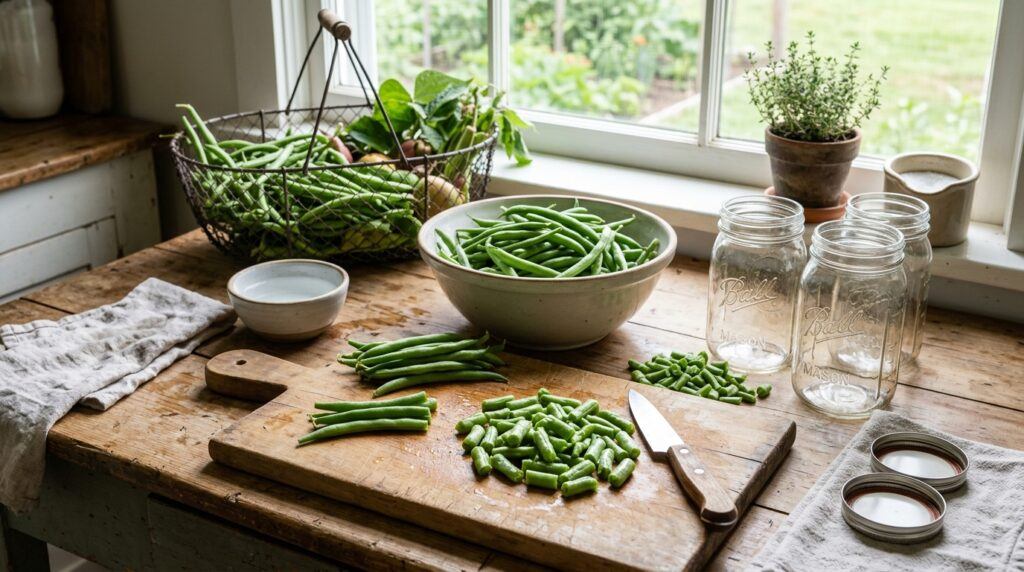
Start by washing the beans thoroughly in clean water.
Trim off the ends and discard any damaged portions.
You can leave smaller beans whole if they’ll fit comfortably in the jars, or cut or snap the beans into approximately 1-inch pieces.
That’s really all the preparation they need.
From here, you have two choices: hot pack or raw pack.
Both methods have tested pressure-canning instructions.
Hot Pack vs. Raw Pack Green Beans
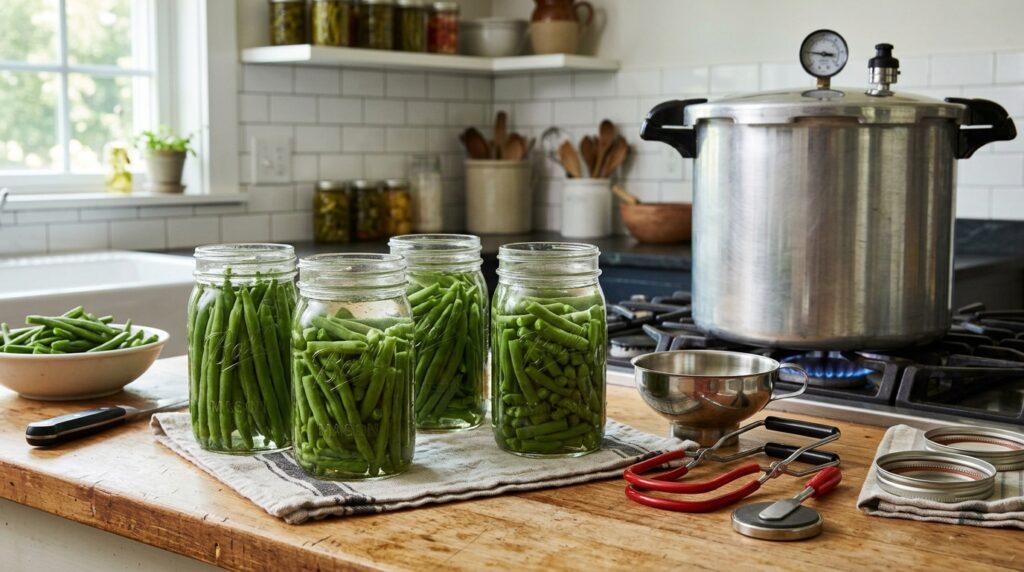
I like having both options because sometimes convenience matters when you’re dealing with a large garden harvest.
Hot Pack Green Beans
For a hot pack, place the prepared beans in a pot and cover them with boiling water.
Boil the beans for 5 minutes.
Pack the hot beans loosely into hot jars, leaving 1 inch of headspace.
If you want to add canning salt, use:
- ½ teaspoon per pint
- 1 teaspoon per quart
Salt is optional and is added for flavour rather than preservation.
Cover the beans with the hot cooking liquid, maintaining 1 inch of headspace.
Raw Pack Green Beans
Raw packing skips the five-minute boiling step.
Pack the prepared raw beans tightly into hot jars, leaving 1 inch of headspace.
Add salt if desired:
- ½ teaspoon per pint
- 1 teaspoon per quart
Pour boiling water over the beans, again leaving 1 inch of headspace.
Whichever method you choose, don’t change the required headspace or processing instructions.
How to Pressure Can Green Beans Step by Step
Once your beans and jars are ready, you’re ready to start canning.
1. Prepare Your Pressure Canner
Place the canning rack inside your pressure canner and add the amount of water recommended by the manufacturer and the tested canning procedure.
Pressure canners use much less water than boiling-water canners. The jars aren’t completely submerged.
Begin heating the water while you prepare your jars.
2. Fill the Jars
Fill your hot jars using either the hot-pack or raw-pack method described above.
Leave 1 inch of headspace.
Add canning salt if desired, and cover the beans with the appropriate hot liquid.
Run a bubble remover around the inside of the jar if needed to release trapped air.
Check the headspace again and adjust if necessary.
3. Wipe the Jar Rims
Use a clean, damp cloth to wipe the rims of the jars.
Food or residue on the rim can interfere with the seal, so take a moment to make sure they’re clean.
Apply your prepared lids and screw bands according to the lid manufacturer’s instructions.
4. Load the Pressure-Canner
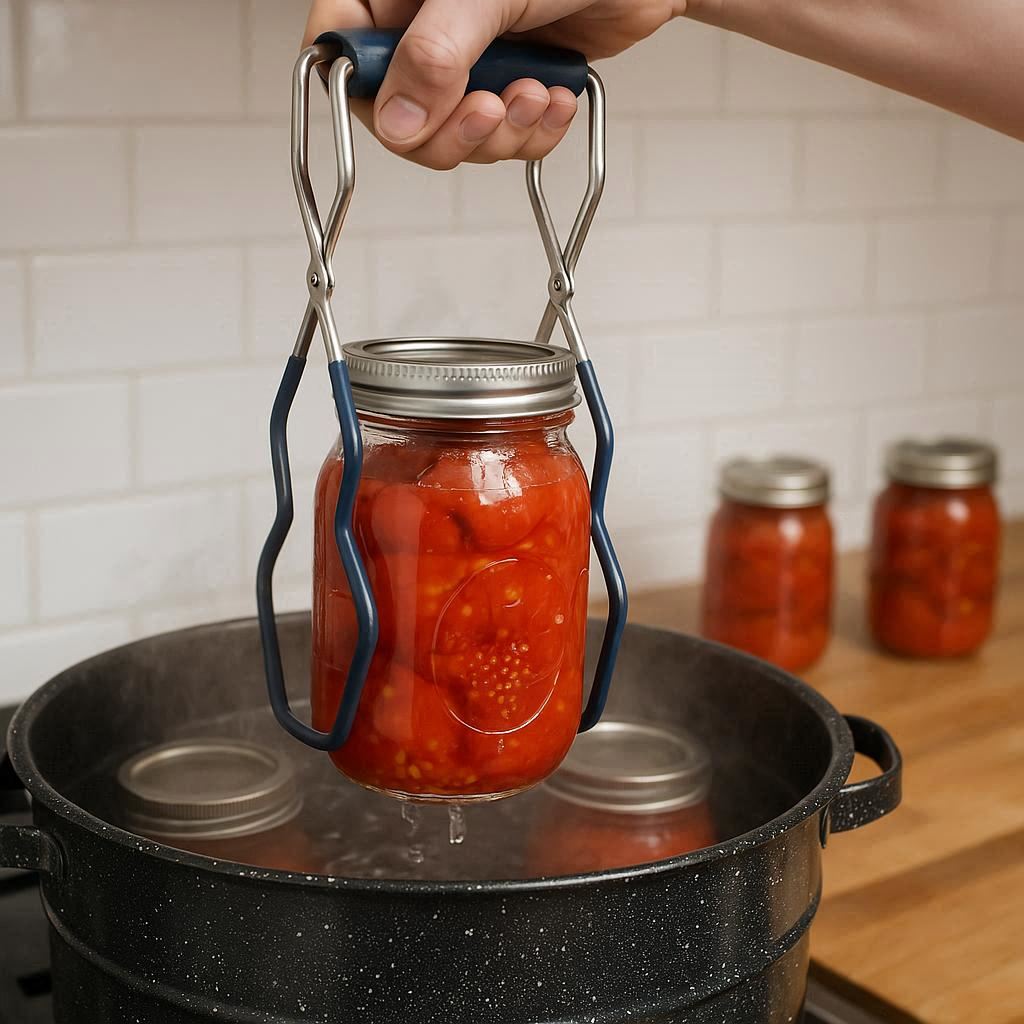
Place the jars upright on the rack inside the pressure canner using a jar lifter.
Fasten the canner lid securely.
Leave the weight off the vent pipe or leave the petcock open, depending on the type of pressure canner you’re using.
5. Vent for 10 Minutes
Turn up the heat.
Once you see a steady, funnel-shaped stream of steam escaping from the open vent, start timing.
Allow the steam to escape continuously for 10 full minutes.
Don’t skip this step. Venting removes trapped air from the pressure canner so it can reach the proper processing temperature.
After 10 minutes, place the weight or pressure regulator over the vent or close the petcock as directed for your canner.
6. Bring the Canner Up to Pressure
Allow the canner to gradually build pressure.
The pressure you need depends on whether you’re using a dial-gauge or weighted-gauge canner and on your elevation.
Once the correct pressure has been reached, begin your processing time.
7. Process the Green Beans
For both hot-packed and raw-packed green beans:
- Pints: process for 20 minutes
- Quarts: process for 25 minutes
But processing time is only half of the equation.
You also need to use the correct pressure for your elevation and type of canner.
Green Bean Processing Times and Pressure
Pressure for Dial-Gauge Canners
For a dial-gauge pressure canner, use:
| Elevation | Pressure |
|---|---|
| 0–2,000 feet | 11 pounds |
| 2,001–4,000 feet | 12 pounds |
| 4,001–6,000 feet | 13 pounds |
| 6,001–8,000 feet | 14 pounds |
Process pints for 20 minutes and quarts for 25 minutes at the pressure appropriate for your elevation.
Pressure for Weighted-Gauge Canners
For a weighted-gauge pressure canner:
| Elevation | Pressure |
|---|---|
| 0–1,000 feet | 10 pounds |
| Above 1,000 feet | 15 pounds |
Again, process:
- Pints: 20 minutes
- Quarts: 25 minutes
This is why it’s important to know both your elevation and what type of pressure canner you own.
Don’t assume that the pressure used by someone else will automatically be correct for you.
What If the Pressure Drops?
Keep an eye on your pressure throughout the entire processing period.
If the pressure drops below the required pressure, bring the canner back up to the correct pressure and restart the full processing time from the beginning.
So if you’re processing quarts for 25 minutes and the pressure drops below the required level at minute 22, you can’t simply finish those last three minutes.
Once the correct pressure is restored, the 25-minute processing time starts again.
It’s annoying when it happens, but this isn’t a step worth taking chances with.
Cooling the Pressure Canner
Once the full processing time is complete, turn off the heat.
Now let the canner cool and depressurize naturally.
Don’t remove the weight early, open the vent, pour cold water over the canner, or do anything else to speed up the cooling process.
Once the canner is completely depressurized, follow the manufacturer’s directions for opening it safely.
Open the lid away from your face so the remaining steam doesn’t come toward you.
Remove the jars with your jar lifter and place them upright on a towel or cooling rack.
Cooling and Checking Your Jars
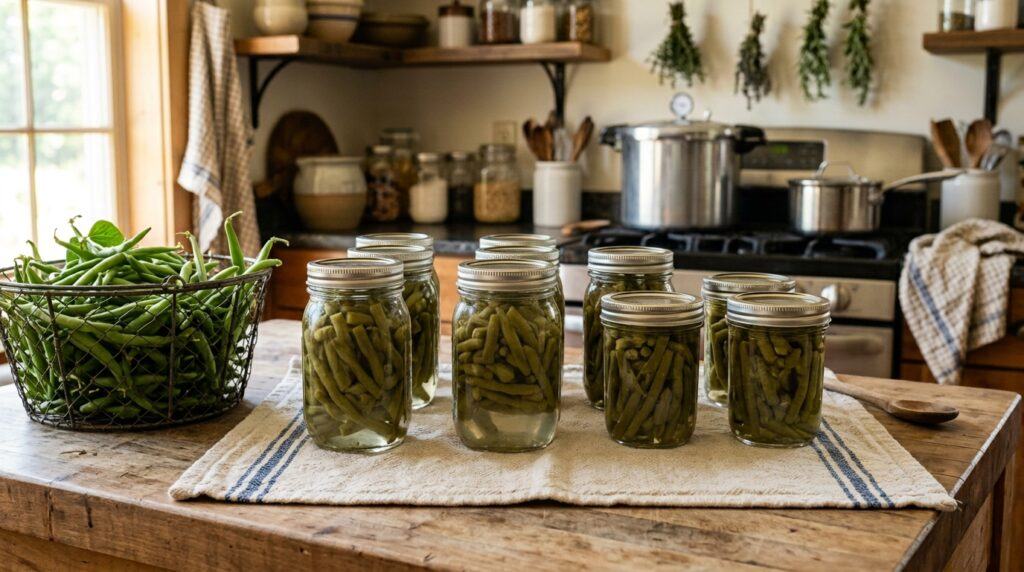
Leave the jars undisturbed for 12 to 24 hours.
Don’t press down on the lids while they’re cooling, and don’t retighten the bands.
Once the jars are completely cool, check the seals.
With standard two-piece canning lids, a properly sealed lid should be slightly concave and shouldn’t flex up and down when pressed in the center.
Remove the screw bands before storing the jars.
Label each jar with the contents and date, and store your beans somewhere cool, dark and dry.
Common Green Bean Canning Mistakes
Green beans are fairly straightforward to preserve, but there are a few mistakes worth watching for.
Using a Water Bath Canner
Plain green beans are low-acid vegetables and must be pressure -canned using a tested procedure.
Simply boiling the jars longer doesn’t make water-bath canning safe for plain green beans.
Forgetting the Altitude Adjustment
The required pressure changes with elevation.
Check your altitude before you start and use the correct pressure for your type of canner.
Skipping the 10-Minute Vent
Always vent the pressure canner for a full 10 minutes before pressurizing it.
Packing the Jars Too Full
Green beans need 1 inch of headspace.
Don’t squeeze in extra beans above that level just because there’s room for one more.
Changing the Processing Time
Use 20 minutes for pints and 25 minutes for quarts.
Don’t shorten the time because your beans are especially fresh or because you’re using smaller pieces.
Adding Other Vegetables
Don’t start adding onions, peppers, garlic, or other ingredients to this plain-green-bean procedure.
Once you change the ingredients, you’re no longer following the tested recipe.
If you want a mixture of vegetables, use a tested recipe specifically developed for that combination.
Pressure Canning Green Beans FAQ
Do I have to cook green beans before pressure canning them?
No. There are tested procedures for both hot-packed and raw-packed green beans.
For hot pack, boil the beans for 5 minutes before packing them into jars.
For raw pack, put the raw prepared beans directly into the jars and add boiling water.
Do I need to add salt?
No. Salt is optional in this procedure and is used for flavour.
If desired, use ½ teaspoon per pint or 1 teaspoon per quart.
Can I water bath green beans if I process them longer?
No. There is no safe boiling-water canning process for plain green beans.
If you want shelf-stable plain green beans, use a tested pressure-canning procedure.
Can I can green beans whole?
Yes. After washing and trimming the beans, they can be left whole, or cut or snapped into approximately 1-inch pieces.
Make sure whole beans fit properly in the jar while maintaining the required headspace.
Can I use frozen green beans for canning?
For this procedure, start with fresh, tender beans as specified in the tested instructions.
I wouldn’t substitute previously frozen beans into a recipe developed for fresh beans.
Why are my canned green beans softer than fresh or frozen beans?
Pressure canning involves heat, so the finished beans will naturally be softer than fresh green beans.
That’s normal.
I find canned green beans particularly handy for soups, casseroles and quick side dishes where having them already cooked is actually an advantage.
Can I add bacon to my jars of green beans?
Don’t add bacon to this plain-green-bean recipe.
Adding meat changes the product and means the tested processing instructions for plain green beans no longer apply.
If you like bacon with your green beans, it’s much easier to add it when you open the jar and prepare the beans for a meal.
What Can You Do With Home-Canned Green Beans?
One of the reasons I like having vegetables preserved in jars is convenience.
Home-canned green beans can be warmed and served as a simple side dish, added to soups and stews, used in casseroles, or seasoned with butter, garlic, herbs, or bacon after the jar is opened.
They’re already cooked, so preparing them doesn’t take much time.
And when the garden is buried under snow, opening a jar of something you grew yourself is pretty satisfying.
You can find more step-by-step preserving ideas in my Canning Recipes & Methods section as I continue adding guides for different garden vegetables.
Final Thoughts on Pressure Canning Green Beans
Green beans are a great vegetable to start with once you’re comfortable using a pressure canner.
The preparation is simple, you can choose between hot pack and raw pack, and you don’t need a long list of ingredients.
The most important things are to follow the tested procedure, leave 1 inch of headspace, vent your canner for 10 minutes, use the correct pressure for your elevation, and process pints for 20 minutes or quarts for 25 minutes.
If you’re still learning how pressure canning works, start with my Pressure Canning Vegetables for Beginners guide before tackling your first batch.
And remember that not every food belongs in the pressure canner. My guide to 10 Foods You Should Never Can (and Why) explains some foods and preparations that are better preserved another way.
Once you’ve canned green beans successfully, you’ll probably find the next batch much less intimidating.
And if your garden is anything like most gardens, there will always be another batch of beans waiting to be picked.
Affiliate Disclosure: This post may contain affiliate links. As an Amazon Associate, I earn from qualifying purchases at no additional cost to you.
© 2026, admin. All rights reserved.