




Getting started with home canning doesn’t mean you need to spend hundreds of dollars on equipment. With a few essential canning supplies, you can begin preserving your garden harvest safely and enjoy homemade foods throughout the year.
Whether you’re planning to make strawberry jam, preserve tomatoes, or pressure can fresh vegetables, having the right equipment makes the process easier and more enjoyable.
The key is knowing which canning supplies you actually need, which ones make the job easier, and which gadgets you can skip.
In this guide, we’ll look at the essential tools for water bath and pressure canning, along with a few inexpensive accessories that are worth having in your kitchen.
- Water Bath Canning vs. Pressure Canning
- Essential Canning Supplies Every Beginner Needs
- Canning Jar Lifter, Funnel, and Bubble Remover
- Canning Lids, Rings, and Replacement Supplies
- Helpful Canning Accessories Worth Having
- Canning Supplies You Can Skip as a Beginner
- How Much Does a Beginner Canning Setup Cost?
- Where to Buy Canning Supplies
- Beginner Canning Supplies Checklist
- Caring for and Storing Your Canning Equipment
- Frequently Asked Questions
- Final Thoughts
Water Bath Canning vs. Pressure Canning: What Equipment Do You Need?
Before purchasing supplies, it’s important to understand the difference between these two methods.
Water bath canning is used for high-acid foods and properly acidified recipes, including many jams, jellies, pickles, and certain tomato recipes. You’ll need a large, suitable canning pot, a rack, and proper canning jars.
If you’re just getting started, read my Step-by-Step Guide to Water Bath Canning for Beginners.
Pressure canning is required for low-acid foods such as green beans, carrots, meats, and most unpickled vegetables. These foods require a pressure canner designed for home canning, not an ordinary pressure cooker.
My Pressure Canning Vegetables for Beginners guide explains this method in more detail.
Whichever method you choose, always follow a current, tested canning recipe and adjust processing instructions for your altitude.
Essential Canning Supplies Every Beginner Needs
You don’t need a cupboard full of specialty equipment. Start with the basics, then add accessories as you gain experience.
1. Mason Jars Designed for Home Canning
Good-quality canning jars are one of the most important investments you’ll make.
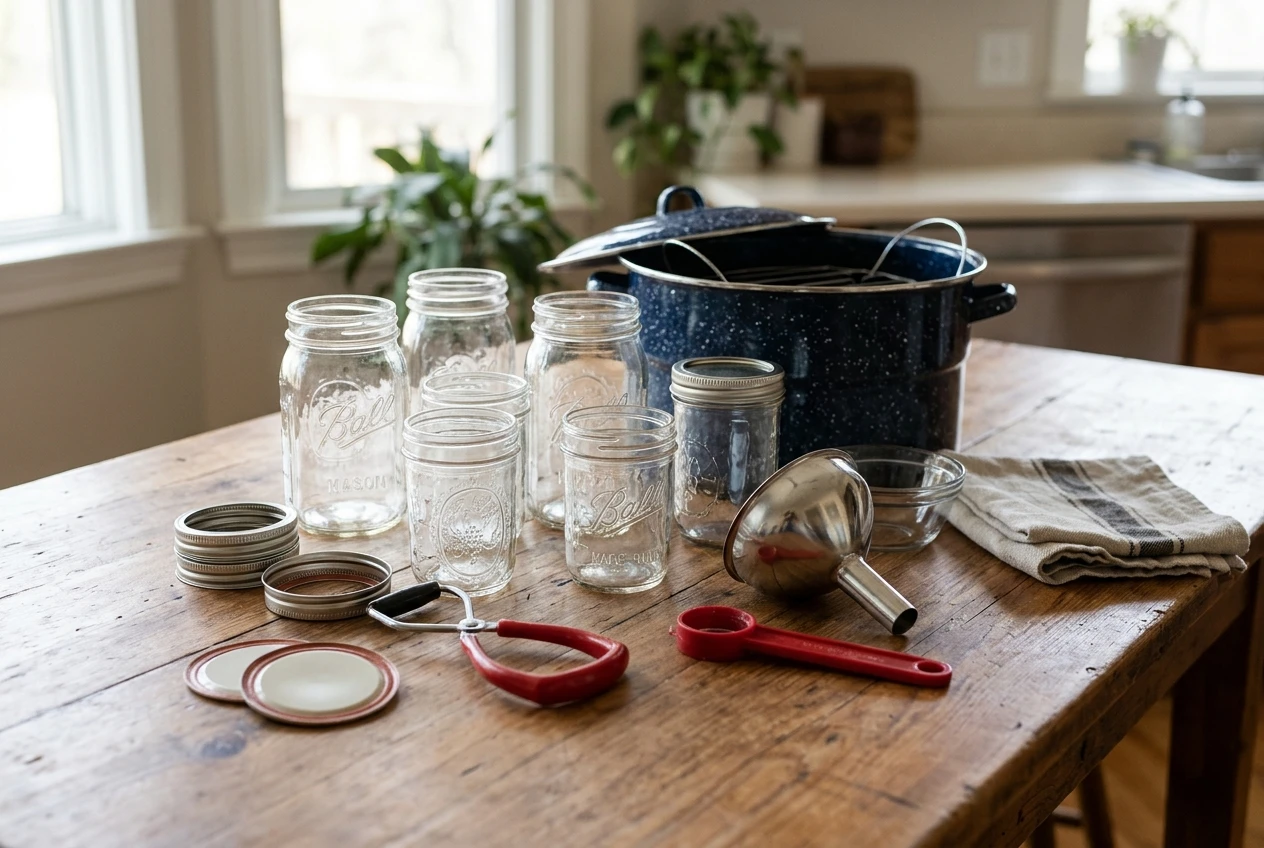
Choose jars specifically designed for home canning, such as Bernardin or Ball Mason jars. Regular-mouth jars work well for many recipes, while wide-mouth jars are often easier to fill and clean.
Common sizes include:
- 250 ml jars: Great for jams, jellies, and small batches.
- 500 ml jars: Useful for many fruits, pickles, and approved vegetable recipes.
- 1 litre jars: Suitable for larger batches when the tested recipe allows this size.
Always check jars for chips or cracks before using them. Mason jars can often be reused, but standard flat metal canning lids should be replaced after each use.
For beginners, I recommend starting with a set of wide-mouth Mason jars with compatible two-piece canning lids. They’re versatile and easy to work with.
2. A Water Bath Canner or Large Stockpot
If you’re planning to preserve jams, jellies, pickles, or properly acidified tomatoes, a water bath canner is a practical place to start.
Look for a pot that is deep enough to cover your filled jars with 1–2 inches of boiling water, depending on processing time, and has room for the water to boil without spilling over.
A fitted lid and proper canning rack are also important.
You don’t necessarily need an expensive canning pot. A suitable large stockpot can work for water bath canning if it meets the necessary requirements.
A water bath canning pot with a fitted rack is a worthwhile purchase if you plan to preserve jams, pickles, and fruit regularly.
3. A Pressure Canner for Low-Acid Foods
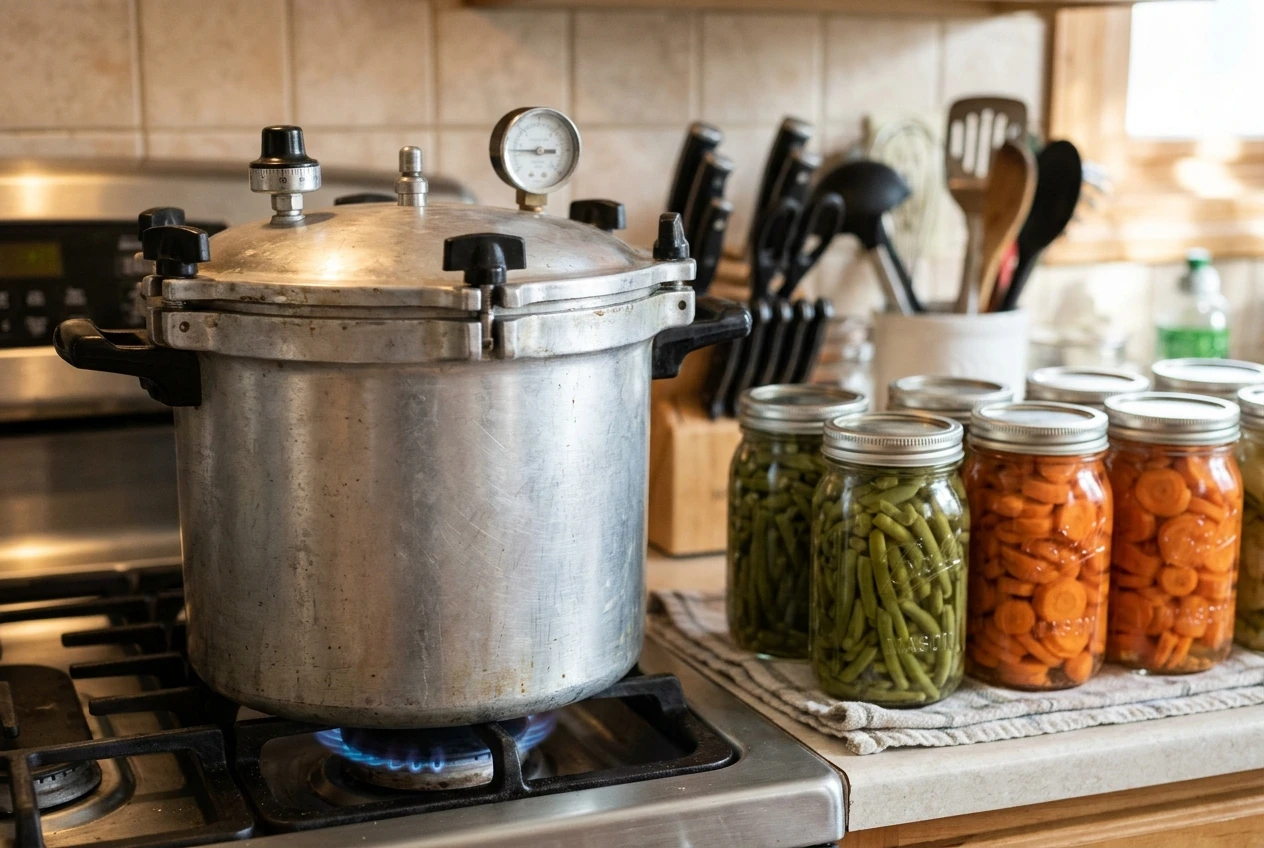
If you want to preserve green beans, carrots, potatoes, meat, or other low-acid foods, you’ll need a proper pressure canner.
Pressure canners reach temperatures above boiling water, which are necessary for safely processing these foods.
When choosing a pressure canner, consider:
- The number and size of jars it holds
- Whether it uses a weighted or dial gauge
- Compatibility with your stovetop
- Availability of replacement parts
- Manufacturer instructions and maintenance requirements
An ordinary pressure cooker or electric multi-cooker is not a substitute for a pressure canner suitable for tested home-canning procedures.
A quality stovetop pressure canner is worth considering if you regularly preserve low-acid vegetables or meat.
For a practical example, see my How to Pressure Can Green Beans: Step-by-Step Guide.
Canning Jar Lifter, Funnel, and Bubble Remover
These three inexpensive tools make a big difference when you’re handling hot jars and filling them with food.
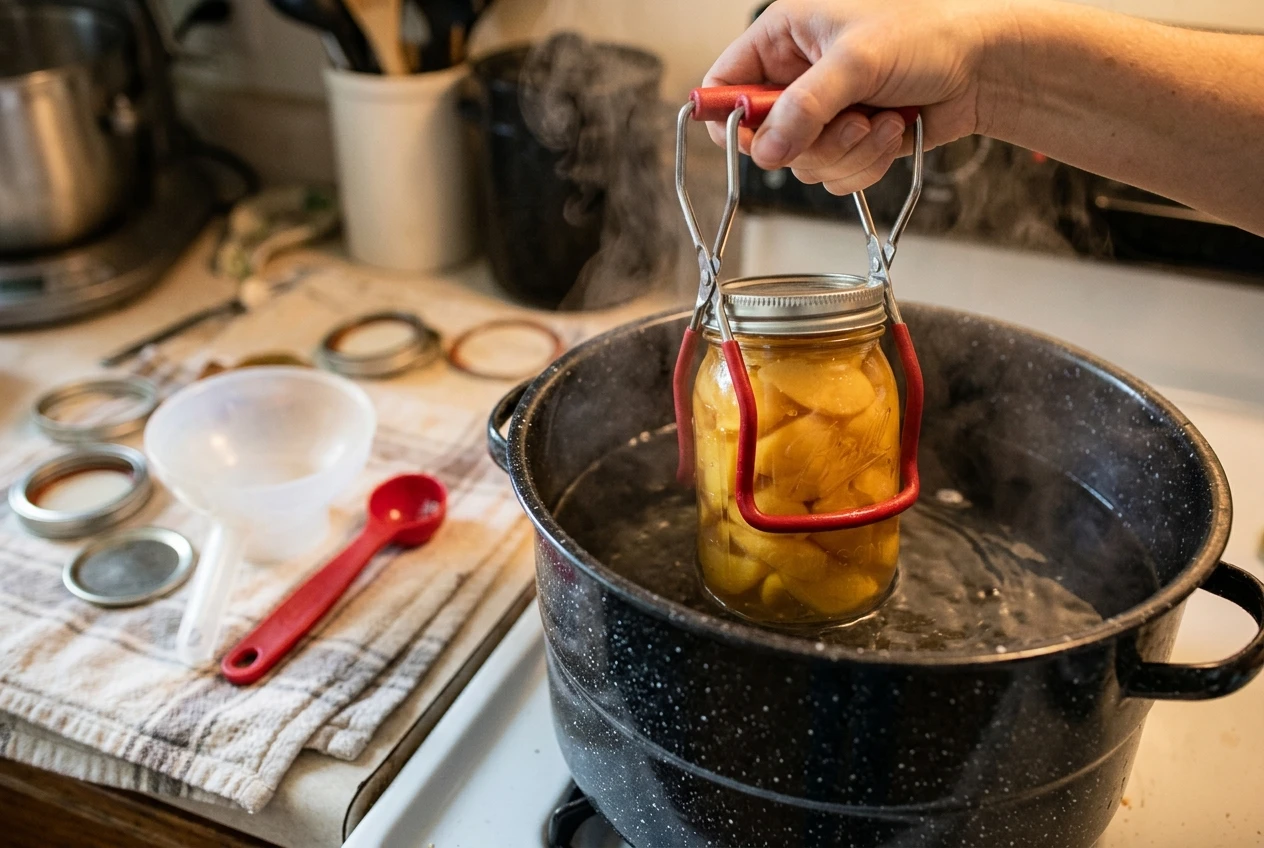
Jar Lifter
A jar lifter has specially shaped gripping ends that hold canning jars securely when placing them into or removing them from hot water.
It’s much safer and easier than trying to use ordinary kitchen tongs.
Wide-Mouth Canning Funnel
A canning funnel helps you fill jars without spilling food over the rims.
This is especially useful when working with jams, sauces, pickles, and chopped vegetables.
Bubble Remover and Headspace Tool
A bubble remover helps release trapped air from filled jars before processing.
Many also have measurements for checking the headspace required by your recipe.
A beginner canning tool kit containing a jar lifter, funnel, and bubble remover is one of the most useful inexpensive purchases you can make.
Canning Lids, Rings, and Replacement Supplies
Most modern Mason jars use two-piece closures consisting of a flat metal lid and a screw band.
The flat lid creates the seal during processing, while the screw band holds it in position.
Here’s what to remember:
- Flat metal lids: Use new lids for each canning batch.
- Screw bands: Can usually be reused if they’re clean, undamaged, and free from rust.
- Glass Mason jars: Can be reused if they have no chips, cracks, or other damage.
Keep extra lids on hand during canning season. It’s frustrating to have fresh produce ready to preserve and discover you’re short a few lids.
A package of replacement canning lids that fit your existing Mason jars is a practical supply to keep in your pantry.
Always follow the lid manufacturer’s current preparation instructions. Some modern canning lids should not be preheated.
Helpful Canning Accessories Worth Having
You probably already own several useful canning accessories.
A ladle, measuring cups, clean kitchen towels, and a heat-resistant surface for cooling jars are all helpful.
Other items worth keeping nearby include:
- A kitchen timer for monitoring processing times
- Labels or a permanent marker for recording contents and dates
- A sturdy cutting board and sharp knife
- A non-metallic spatula for removing trapped air bubbles
- A current, reliable canning recipe book
A home canning recipe book from a trusted source, such as a current Ball or Bernardin guide, can be a useful addition to your kitchen.
For free tested recipes and safety information, you can also visit the National Center for Home Food Preservation.
Canning Supplies You Can Skip as a Beginner
It’s easy to get carried away buying canning gadgets, especially when you’re just starting.
But not everything advertised as a canning accessory is necessary.
You can usually skip:
- Expensive electric jar sealers: Vacuum sealing alone doesn’t make food safe for shelf-stable home canning.
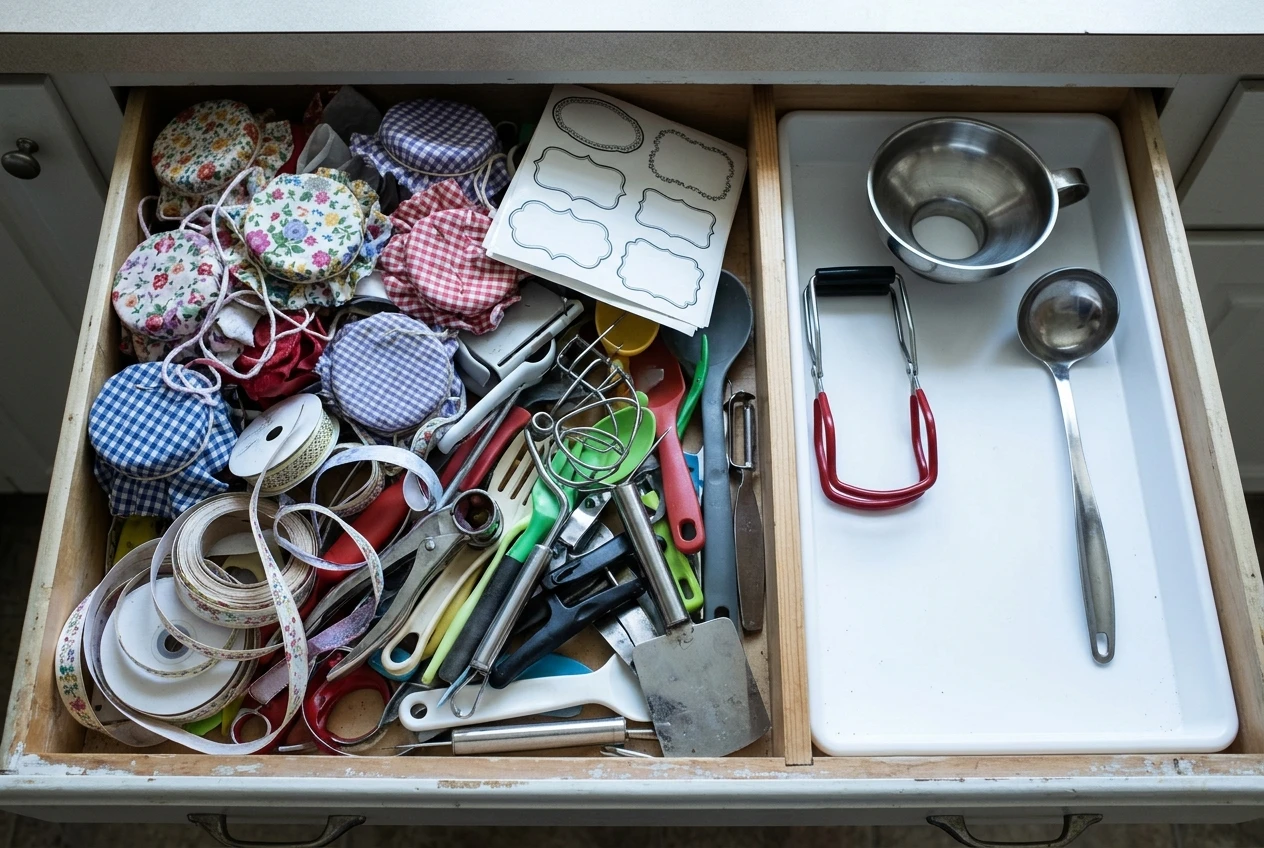
- Decorative jar accessories: Fancy labels and fabric covers are optional.
- Multiple jar sizes: Start with one or two sizes that suit your tested recipes.
- Large accessory collections: A few quality tools are better than a drawer full of gadgets you’ll rarely use.
You also don’t need to buy both a water bath canner and a pressure canner immediately.
Start with the equipment required for the foods you plan to preserve.
How Much Does a Beginner Canning Setup Cost?
Your starting cost depends on whether you’re water bath canning or pressure canning.
Water bath canning is generally the less expensive option, particularly if you already own a suitable large pot.
A basic setup includes Mason jars, new lids, a canning rack, a jar lifter, and a funnel.
Pressure canning requires a larger initial investment because you’ll need a proper pressure canner.
The good news is that quality canning equipment can last for many years when maintained correctly.
If you’re on a tight budget, start small. Buy enough jars and supplies for a few batches, then expand your collection as you gain experience.
Where to Buy Canning Supplies
Canning supplies are available from several retailers.
In Canada, stores such as Canadian Tire, hardware stores, and many grocery stores carry seasonal canning supplies. Amazon can also be convenient for comparing accessories, replacement lids, and equipment.
Before purchasing, compare prices and check that the equipment is compatible with your jars and stovetop.
Used Mason jars can sometimes be a good bargain if they’re genuine home-canning jars in excellent condition. Pressure canners require more caution when buying secondhand because gauges, seals, safety components, and replacement-part availability must be checked.
Beginner Canning Supplies Checklist
Before starting your first batch, make sure you have the essentials.
Basic canning supplies:
- Mason jars in an approved size for your recipe
- New, compatible canning lids
- Screw bands in good condition
- Water bath canner or pressure canner, as required
- Proper canning rack
- Jar lifter
- Wide-mouth canning funnel
- Bubble remover and headspace measuring tool
- Clean kitchen towels
- Ladle and measuring utensils
- Labels or permanent marker
- Current, tested canning recipe
You don’t have to purchase everything at once. Start with the essentials and add accessories as you discover what works best for your kitchen.
Caring for and Storing Your Canning Equipment
Taking care of your canning supplies helps them last longer.
Wash and dry your canning pots, racks, and accessories after each use. Check jars for chips and cracks before storing them.
Pressure canners need additional maintenance. Follow the manufacturer’s instructions for cleaning vents, checking gaskets, and maintaining safety components. Dial gauges should be checked for accuracy according to the manufacturer’s recommendations, generally before each canning season.
Store your equipment in a clean, dry location where it won’t be damaged between canning seasons.
Frequently Asked Questions
What supplies do I need for water bath canning?
You’ll need suitable Mason jars, new canning lids, screw bands, a deep pot with a fitted lid and rack, and a jar lifter. A canning funnel and bubble remover are also helpful.
Can I use a regular pot for canning?
Yes, a sufficiently deep pot with a fitted lid and proper rack can be used for boiling-water canning if it meets the requirements. However, a regular stockpot cannot replace a pressure canner for low-acid foods.
Can I reuse canning jars and lids?
Mason jars can be reused if they’re undamaged. Screw bands can also be reused if they’re in good condition. Standard flat metal canning lids are designed for one-time use during processing.
Final Thoughts
Getting started with home canning doesn’t have to be expensive or complicated.
A few good-quality supplies will serve you much better than a collection of gadgets you rarely use.
Begin with the foods you enjoy preserving, choose the correct equipment for the canning method, and gradually build your supplies as you become more comfortable.
With the right tools and reliable recipes, you’ll be well on your way to filling your pantry with delicious food from your garden.
© 2026, admin. All rights reserved.